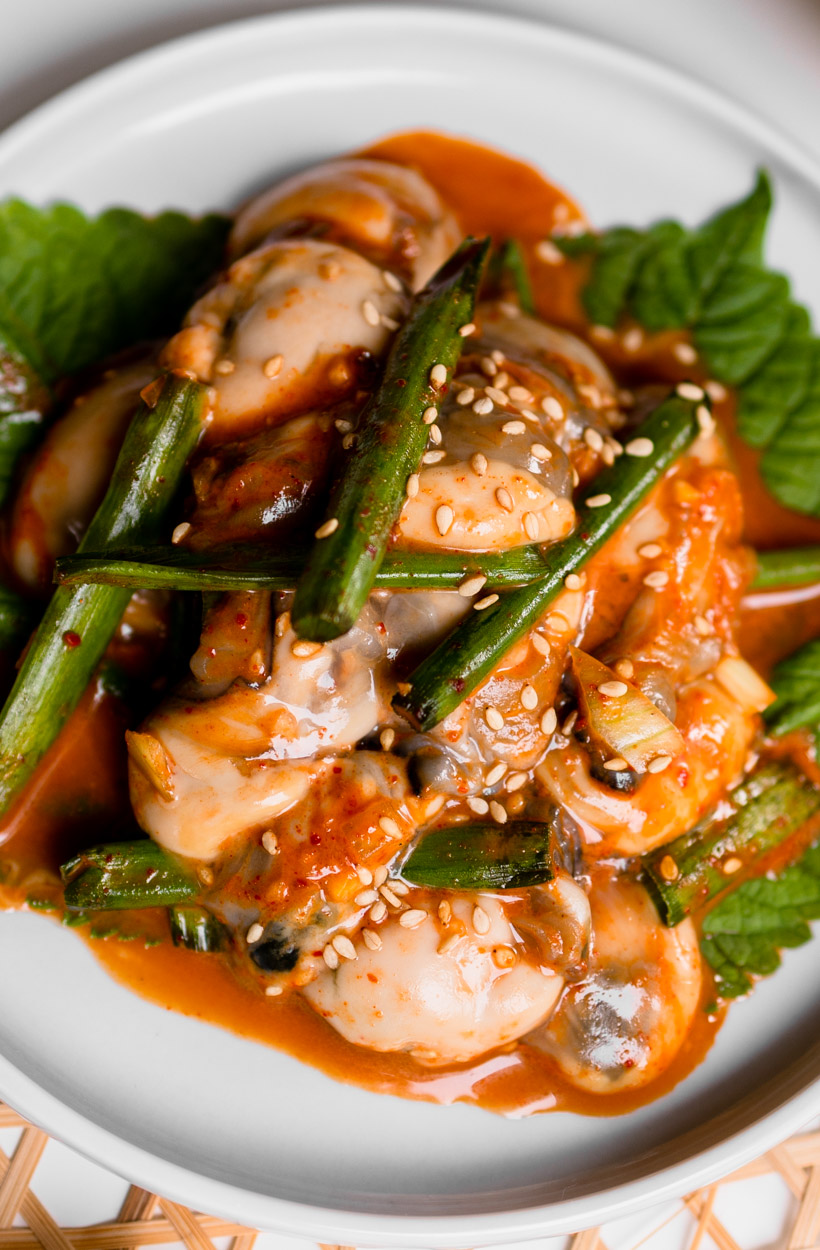
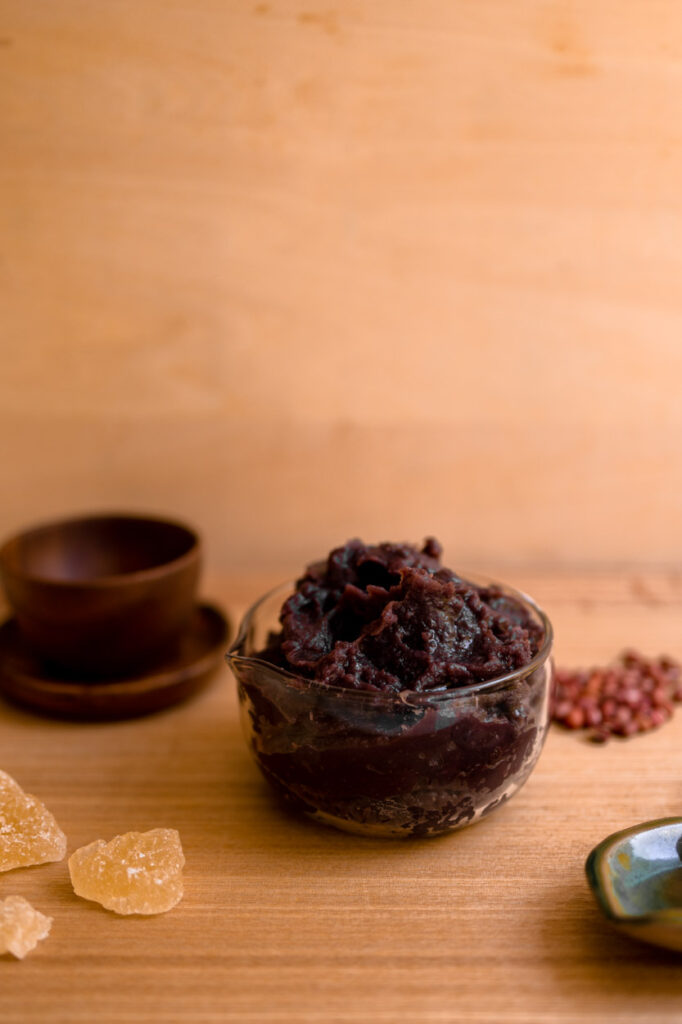
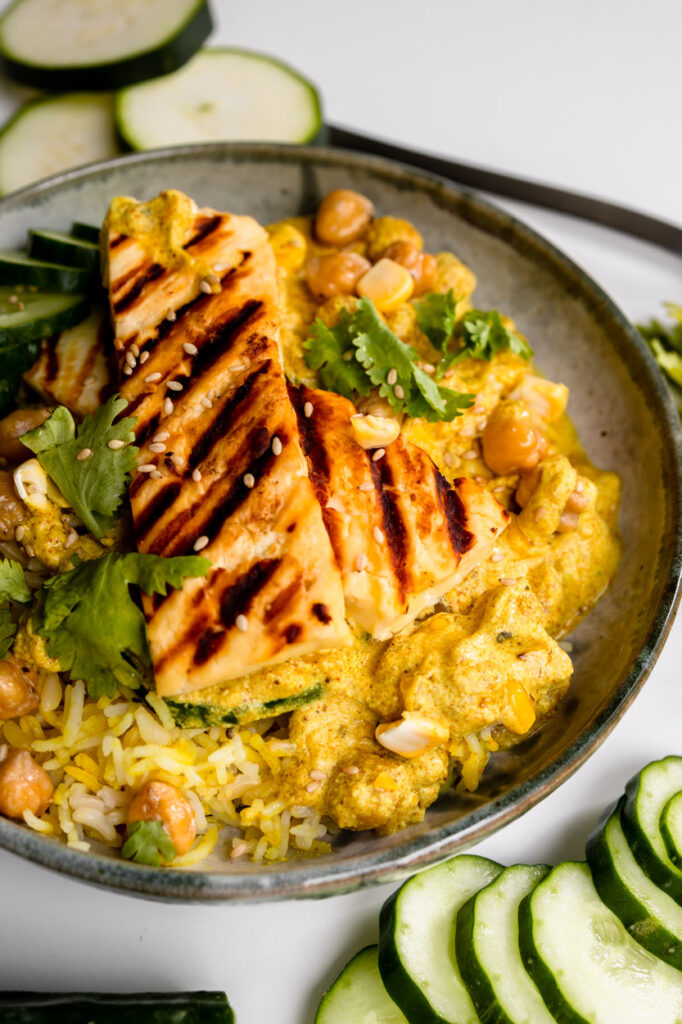
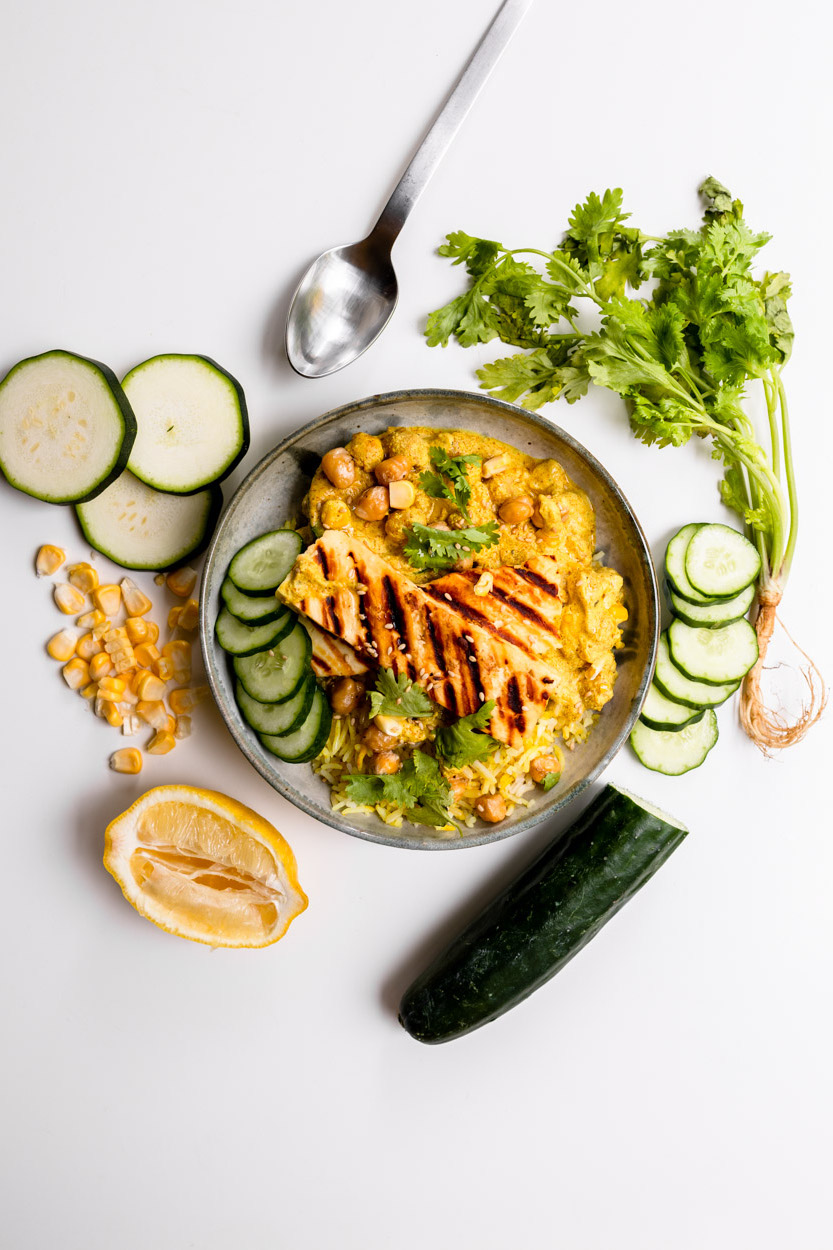
The creamiest, easiest, Summer Squash Chickpea Curry – make this curry with whatever produce you have on hand. We use a mix of sweet corn, zucchini, coconut milk, creamy tahini, lemon, plenty of turmeric powder, and cayenne for some heat. Serve over steamed rice and top with fried halloumi cheese and crispy chickpeas. This dish is layered with flavour and texture, and completely delicious. All you need for this recipe are pantry ingredients, garden veggies, and less than 45 minutes.
This recipe is a little summer “reset”. Don’t worry though, it’s so good, and actually super comforting as well. Enter in this delicious summer curry that’s (almost) vegan, super luscious, creamy, full of garden produce, easy, and all-around healthy.


What makes this curry different?
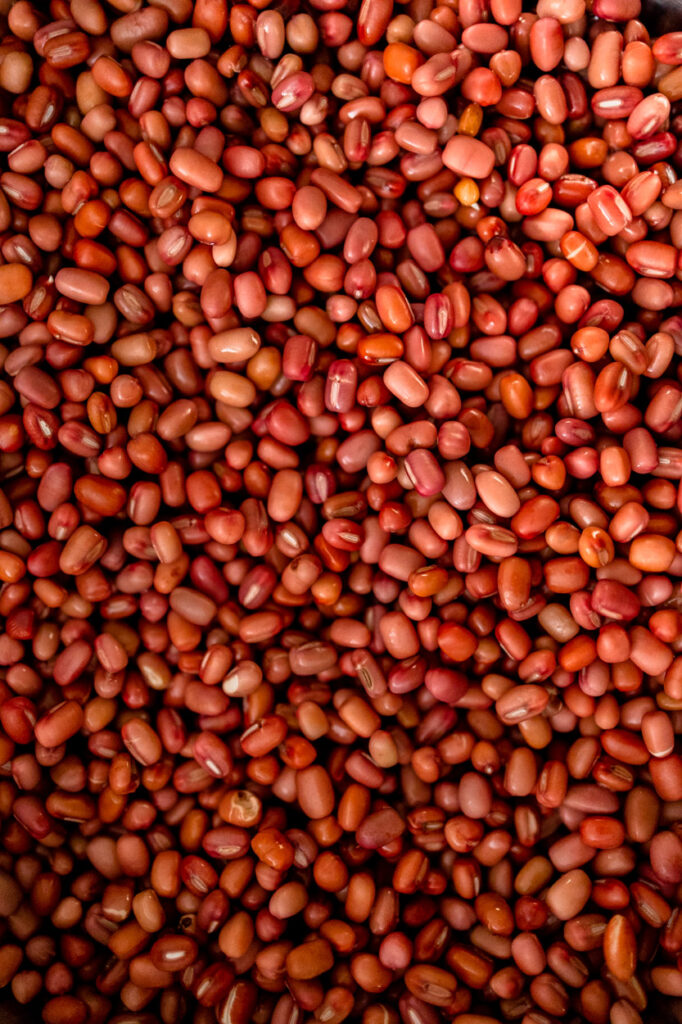
It is a summer-inspired one! Also, usually, when making curries we add in every possible vegetable. But in here we kept it rather simple. Why? That way you can really focus on the flavours. So what then is in there? As for vegetables we are using summer squash – zucchini. Besides summer squash we use chickpeas and corn.
It is true, usually, curry is more of warming food. But the vegetables makes it really fresh. Also, you can serve it cold over some rice, with some naan, or with a salad. Curry actually works great for meal prep so you can serve it in the fridge (which actually enhances the flavours) and eat it cold. Also great for a nice summer picnic.
The key to making this curry
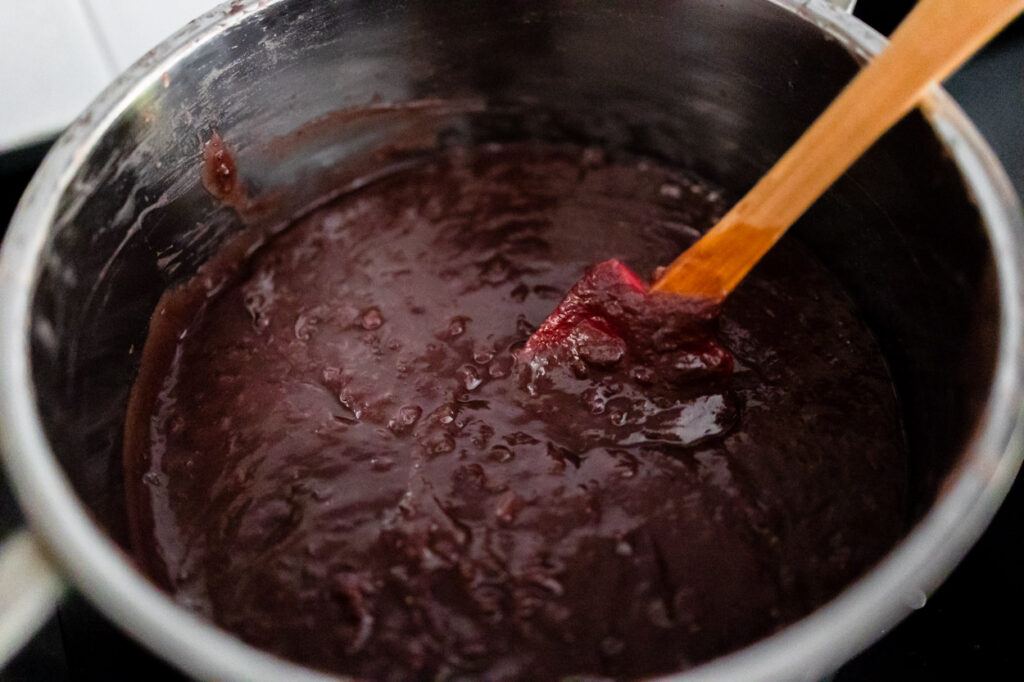
While it is easy to make a curry it is not easy to make a good one. Sometimes it turns out not as flavourful or creamy as you’d want it to be. Making a good curry starts with using a good curry blend – a good combination of turmeric powder and cayenne powder.
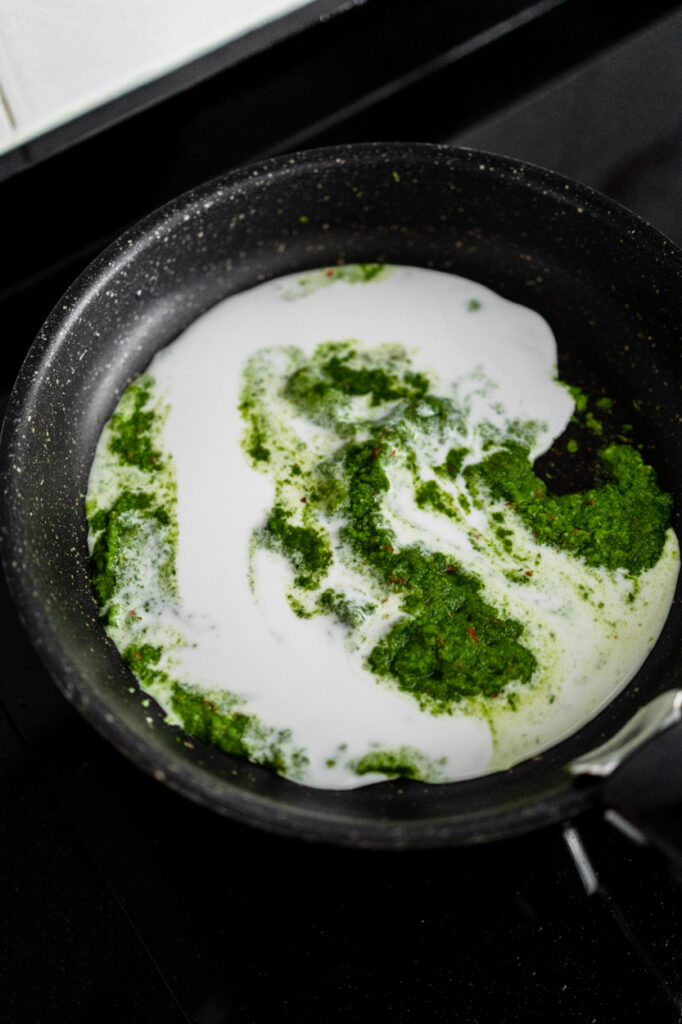
Another tip is to sauté the coconut milk and curry paste mixture at the beginning. That really helps to bring out the flavour and actually makes a difference. All of those tips are not very complicated but small changes make a big difference.
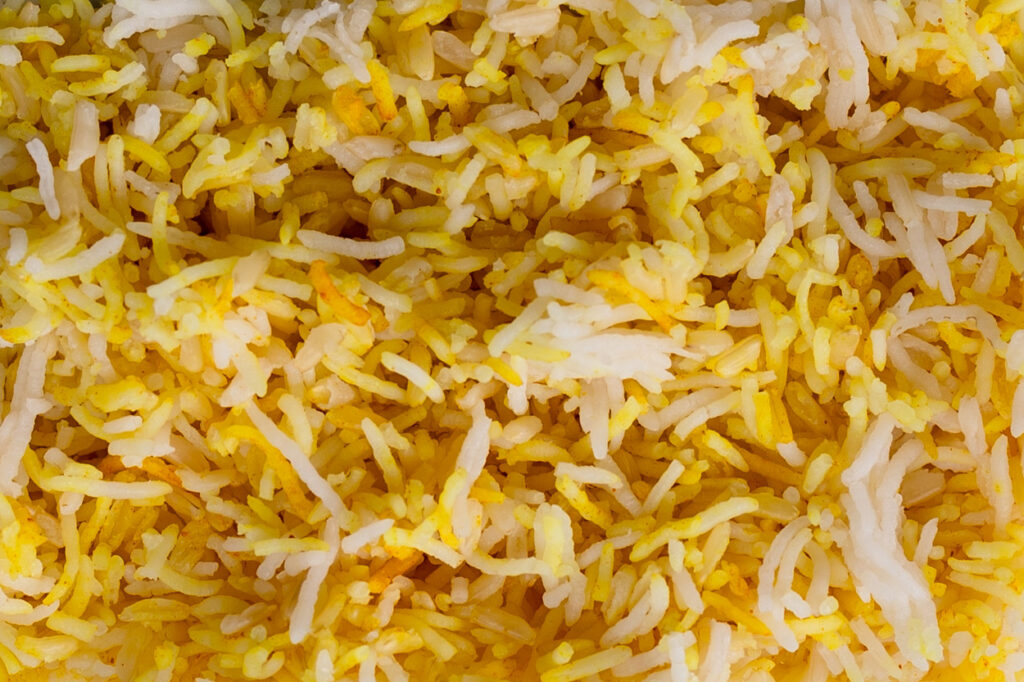
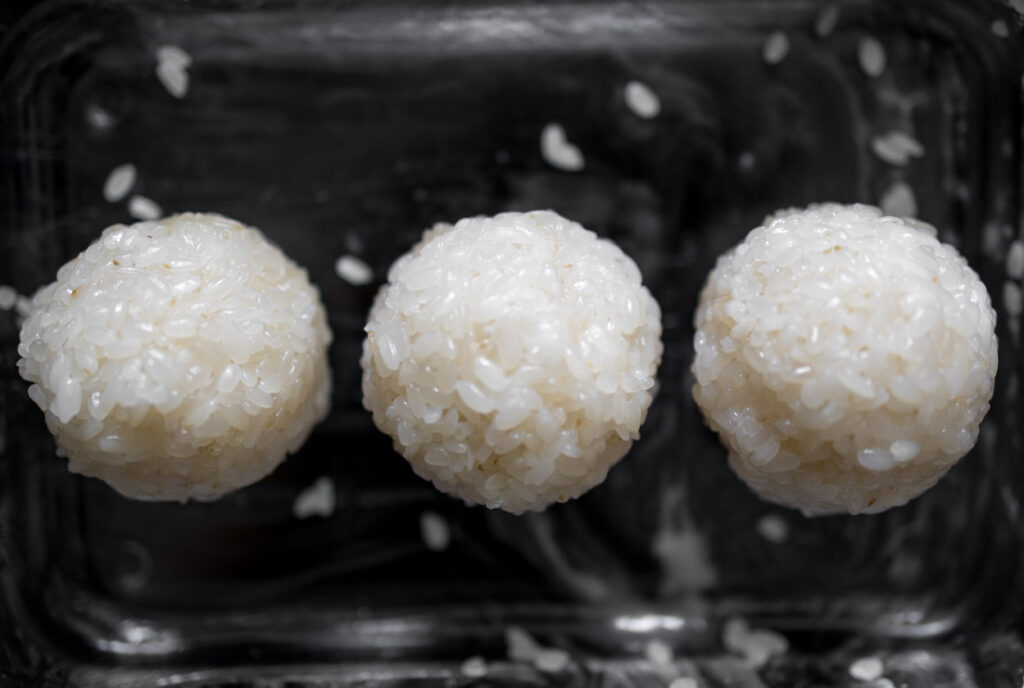
Basmati Rice
Basmati is a fragrant, nutty-tasting long-grain rice grown in the Himalayas and Pakistan. “Bas” in the Hindi language means “aroma” and “mati” means “full of,” hence the word Basmati — or “full of aroma.” Where we love to eat it with the curries.
The key to making basmati rice that is light, tender and fluffy is to rinse it first, otherwise, the grains will be gummy and stick together. It only takes a minute or two. Simply place the rice in a bowl with water, and then swish it around to release any excess starch. The water will be cloudy at first but after several rinses, it will be clear.

If you make this summer coconut chickpea curry with rice and fried halloumi, be sure to leave a comment. And of course, if you do make this recipe, don’t forget to tag me on Instagram! Looking through the photos of recipes you all have made is our favourite!
xoxo, Angela
Summer Squash Chickpea Curry
Ingredients
1/4 cup + 4 tablespoons extra virgin olive oil
1 can (14 ounces) chickpeas, drained
kosher salt and black pepper
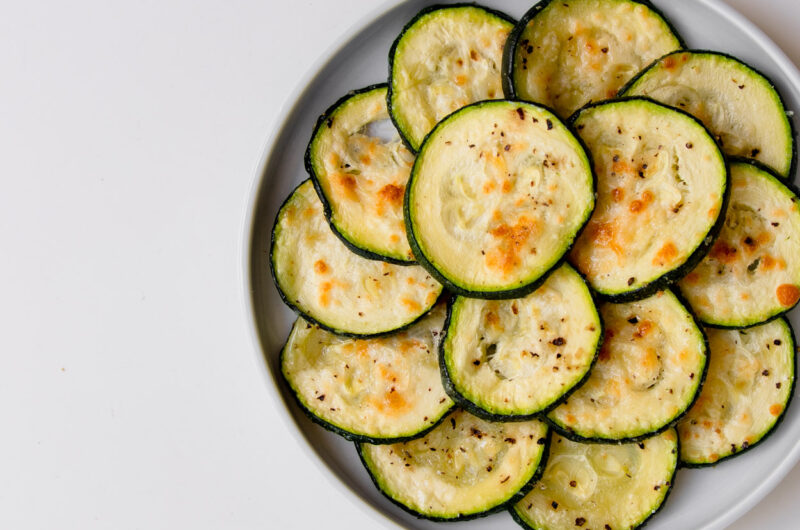
2 zucchini, or summer squash, diced
2 ears sweet corn, kernels removed from the cob
1 shallot, chopped
1-inch fresh ginger, grated
2 cloves garlic, minced or grated
1 1/2 tablespoons turmeric powder
1/2 teaspoon cayenne pepper, more or less to taste
1 can (14 ounces) coconut milk
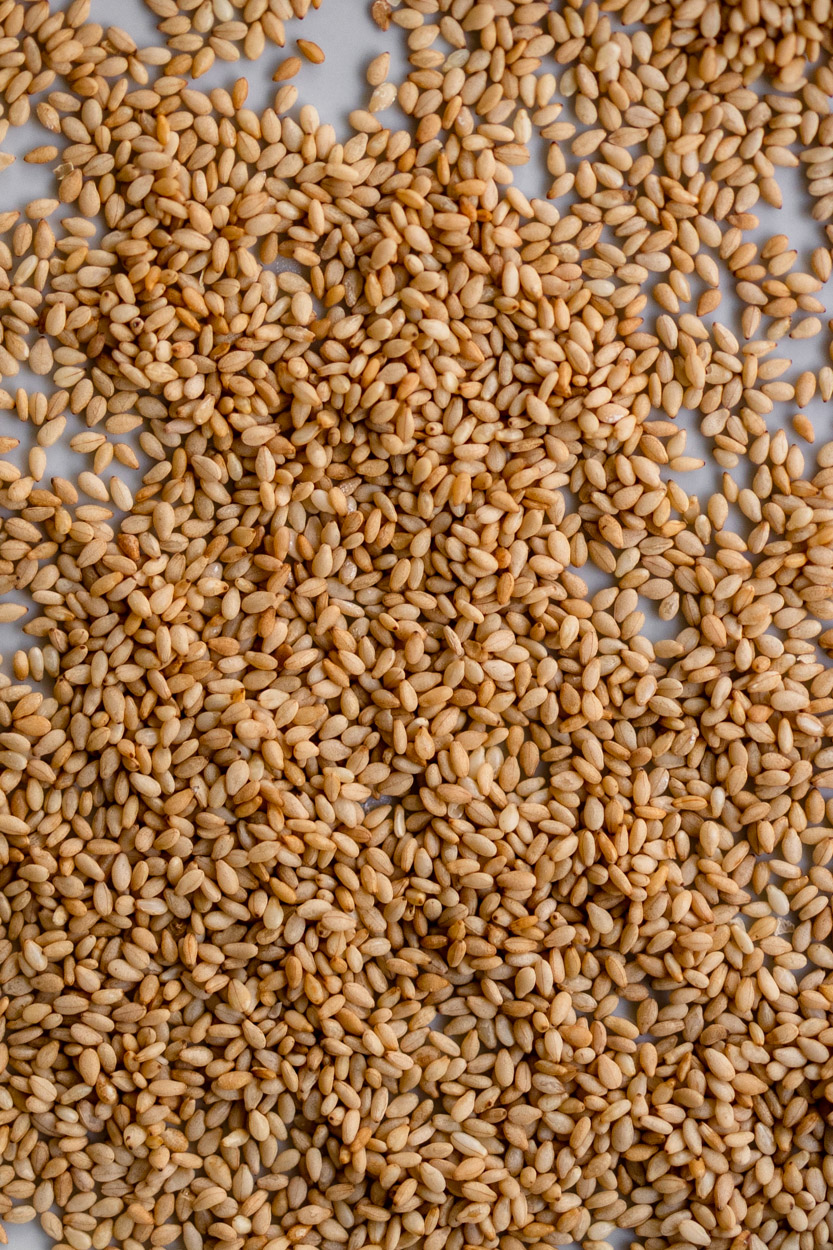
2 tablespoons tahini (sesame seed paste)
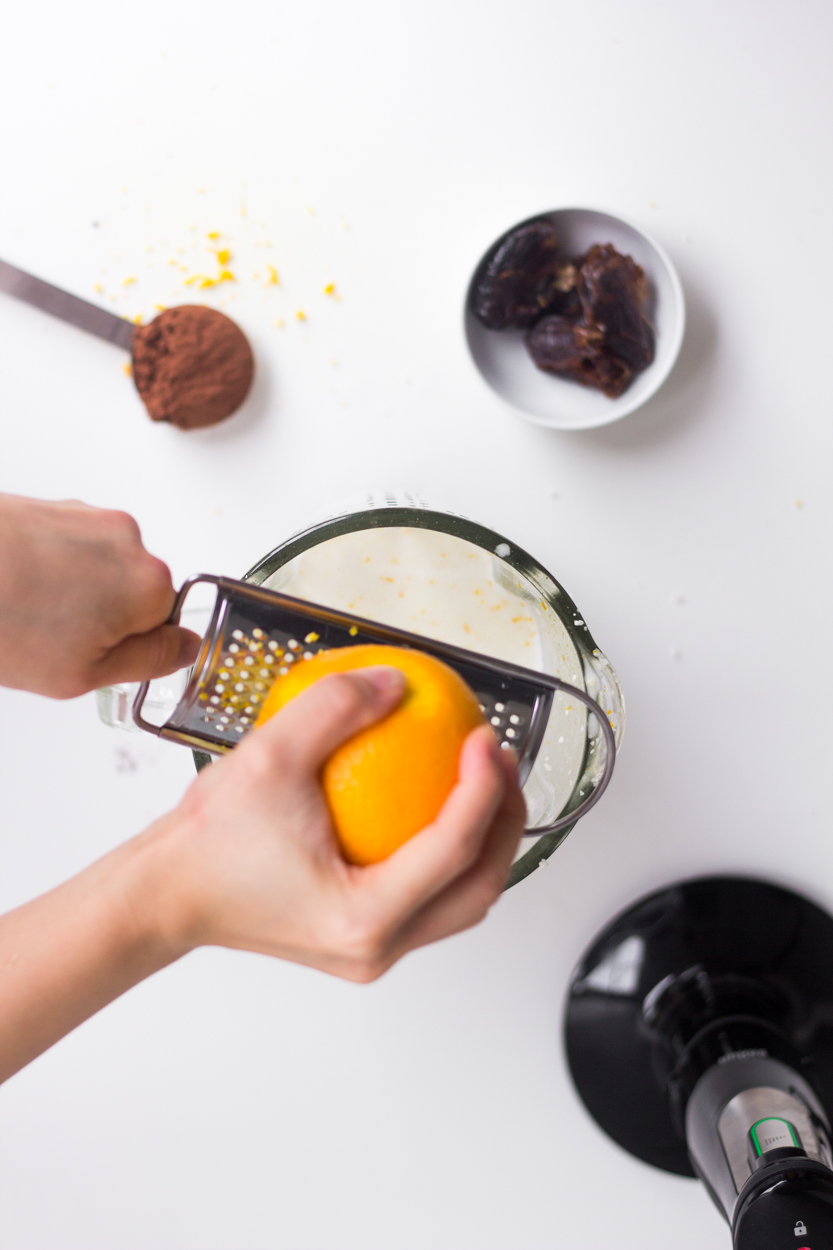
juice and zest from 1/2 a lemon
1/4 cup fresh cilantro, roughly chopped (basil can be used)
8 ounces halloumi cheese, sliced into 1/4 inch pieces (omit if vegan)
2 cups cooked basmati rice
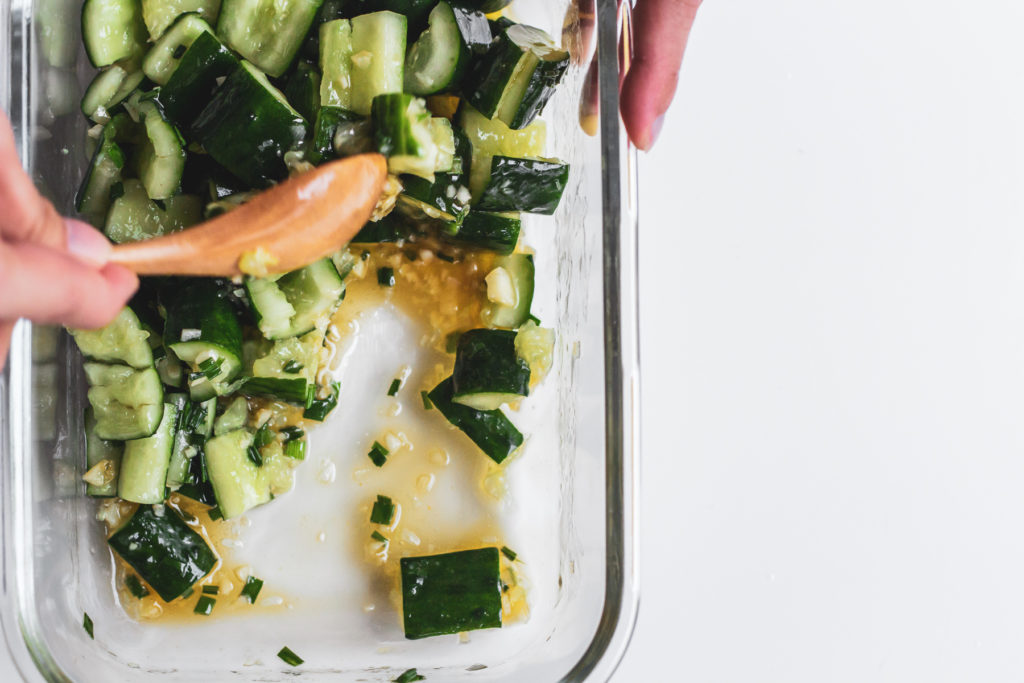
sesame seeds, green onions, and Persian cucumbers, for serving (optional)
Methods
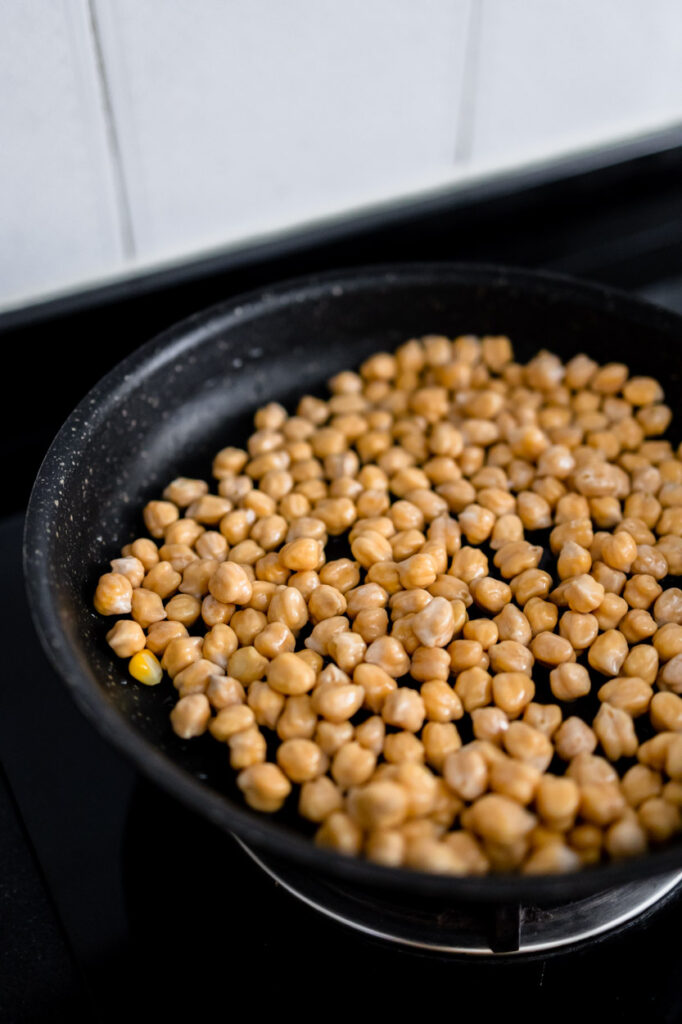
- Heat 1/4 cup olive oil in a large pot over medium heat. When the oil shimmers, add the chickpeas and season with salt and pepper. Cook, stirring occasionally until the chickpeas begin to crisp, about 5 minutes. Carefully remove 1/2 cup of chickpeas and reserve for topping, only if desired.
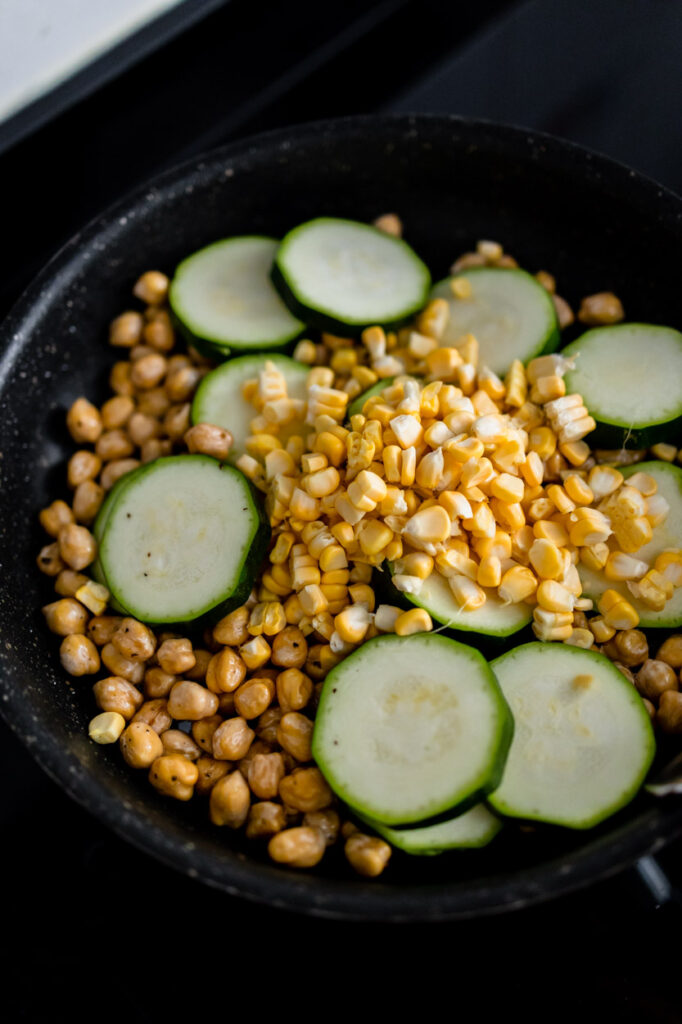
- To the remaining chickpeas, add zucchini, corn, shallot, garlic, and ginger. Season with salt and pepper. Cook the veggies for another 5-10 minutes or until they just begin to soften.
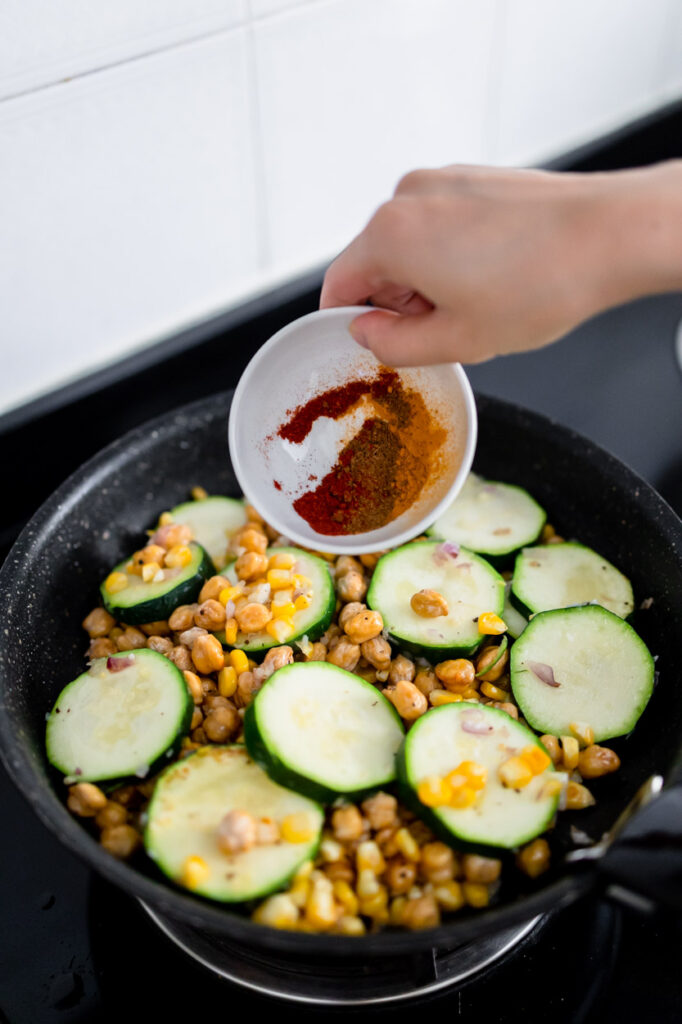
- Stir in the curry powder and cayenne and cook until fragrant, about 1 minute. Add the coconut milk, 1/3-1/2 cup water, and the tahini. Stir to combine, bring the mixture to a simmer over medium heat, cook 5-10 minutes or until the sauce thickens slightly. If the sauce thickens too much, add additional water to thin. Remove from the heat and stir in the lemon juice and zest, and cilantro.
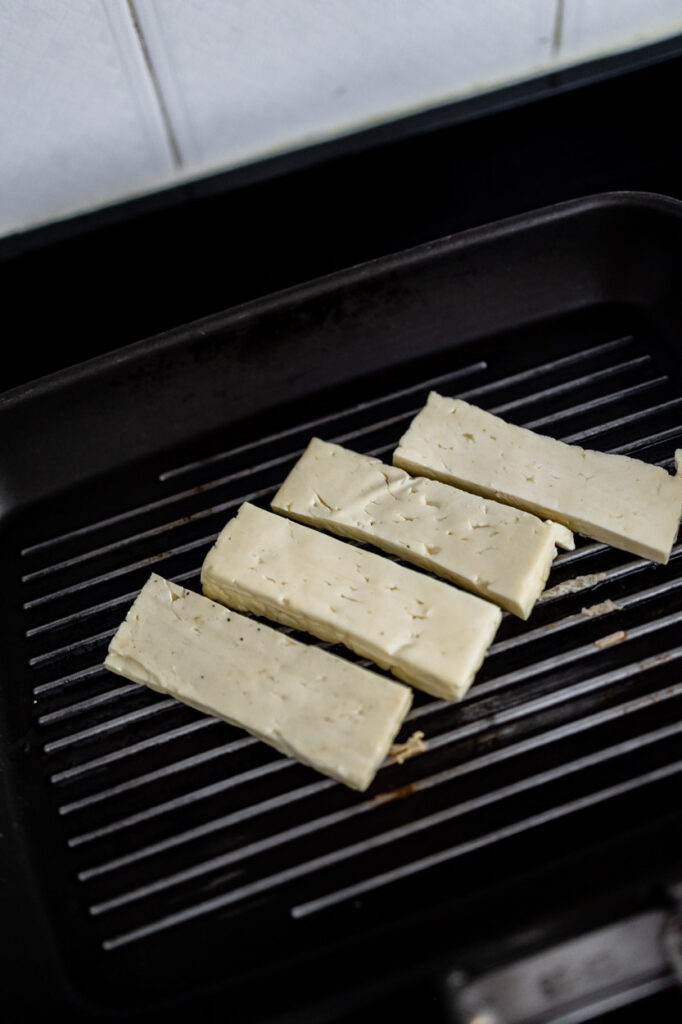
- Meanwhile, cook the halloumi. Heat 2 tablespoons olive oil in a large skillet over medium heat. When the oil shimmers, add the halloumi and cook until golden, about 3 minutes per side. Remove from skillet.
- To serve, divide the rice among bowls and spoon the curry overtop. Top with halloumi, reserved chickpeas, and cucumbers. Enjoy!