
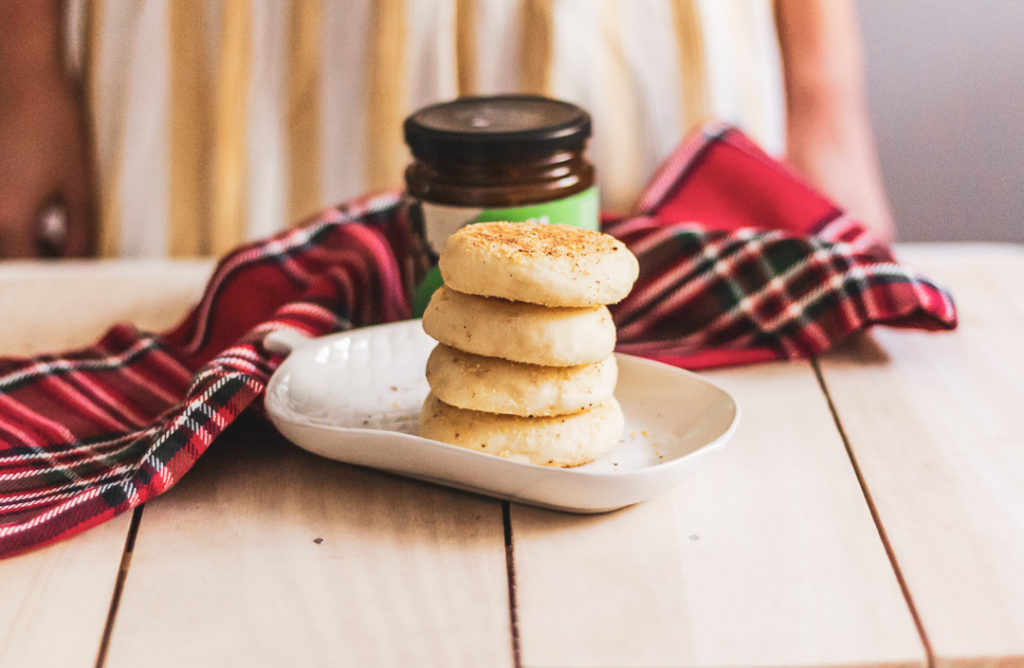
There is really no better vehicle for melted butter than the craggy dips and toasted peaks of an English muffin. I think we can all agree on this. Have you ever tried making them yourself? They’re surprisingly straightforward! And since the dough is best when made ahead and refrigerated overnight, they’ve become one of my favorite treats to make over long, lazy weekends.
Here’s a step-by-step recipe for making a batch of English muffins for you and anyone lucky enough to be invited to your table.
A Slow Rise Makes Better English Muffins
I’ve done a lot of experimenting with my beloved English muffins over the years, and I’ve found that the best flavor and most craggy interior texture comes from a long, slow rise. First, I make what’s called a “starter,” which is really just a mini batter of flour, water, and yeast. Let this bubble for anywhere from an hour to 12 hours, and then mix up the dough. If you have some active sourdough starter, use that instead of yeast for a nice, sour tang to the muffins.
Second, I recommend mixing up the dough and letting it slowly rise in the fridge overnight. In fact, you can make the dough and keep it in the fridge for up to four days — the flavor just gets better and takes on a bit of lovely sourness, even if no sourdough was actually used.
You can also make these English muffins straight through if you like — let the starter get bubbly, then mix it with the dough. Let the dough rise until doubled in bulk, and then you’re good to go. Muffins made all in one go like this will have a very mild flavor and a softer texture.
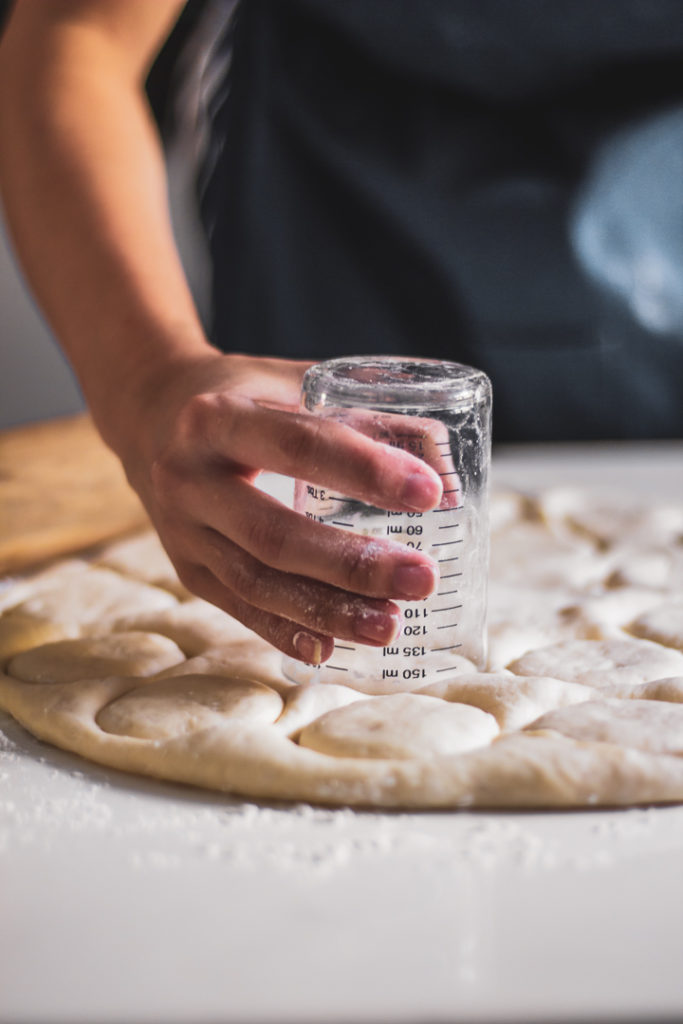
Do You Need English Muffin Rings?
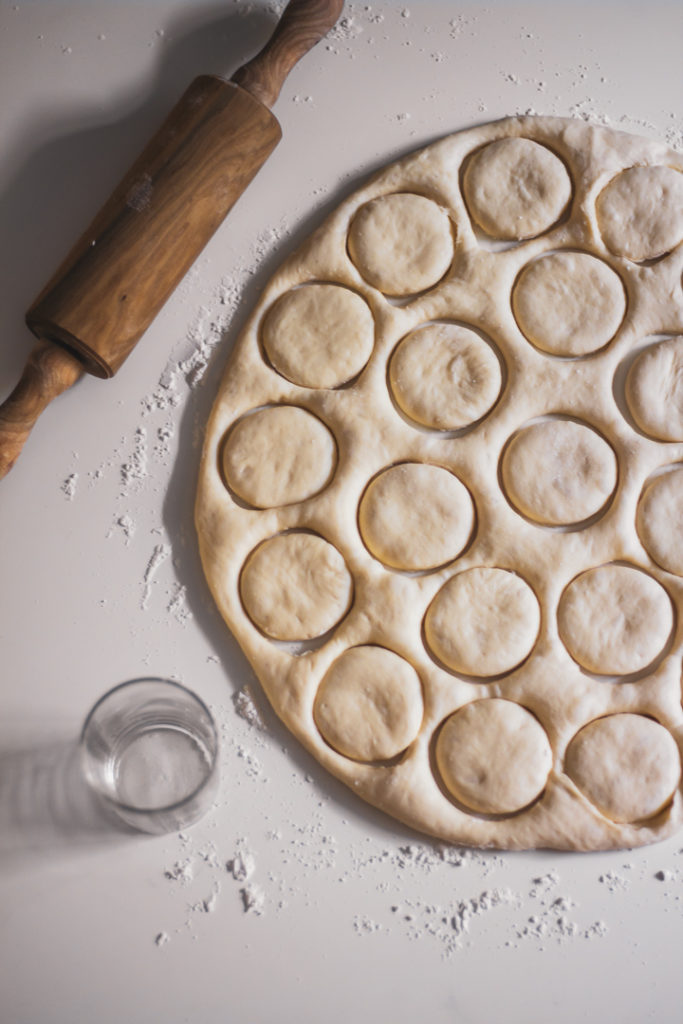
We use round measuring cup for the muffin,
“Bake” Muffins on the Stovetop
English muffins are stovetop affairs — no need to turn on the oven! Cook them in a large skillet (cast iron, stainless steel, or nonstick are all fine) with just a bit of butter to keep them from sticking.
They get their distinctive puck-like appearance because you cook them part of the way on one side, then flip them over and cook them on the other side. The only tricky part here is getting the pan temperature right — you want it hot enough that the muffins get toasty and brown, but not so hot that the outside browns before the middle is cooked through. About six minutes per side is ideal — adjust your heat as needed.

Fresh English muffins just off the griddle are a real treat, but the leftovers keep quite well for up to a week, and they are fantastic toasted and spread with butter. Some people I’ve met even prefer English muffins that are a few days old and have had a chance to dry out a bit.
Happily, this recipe makes enough that you can try them both ways and decide for yourself.
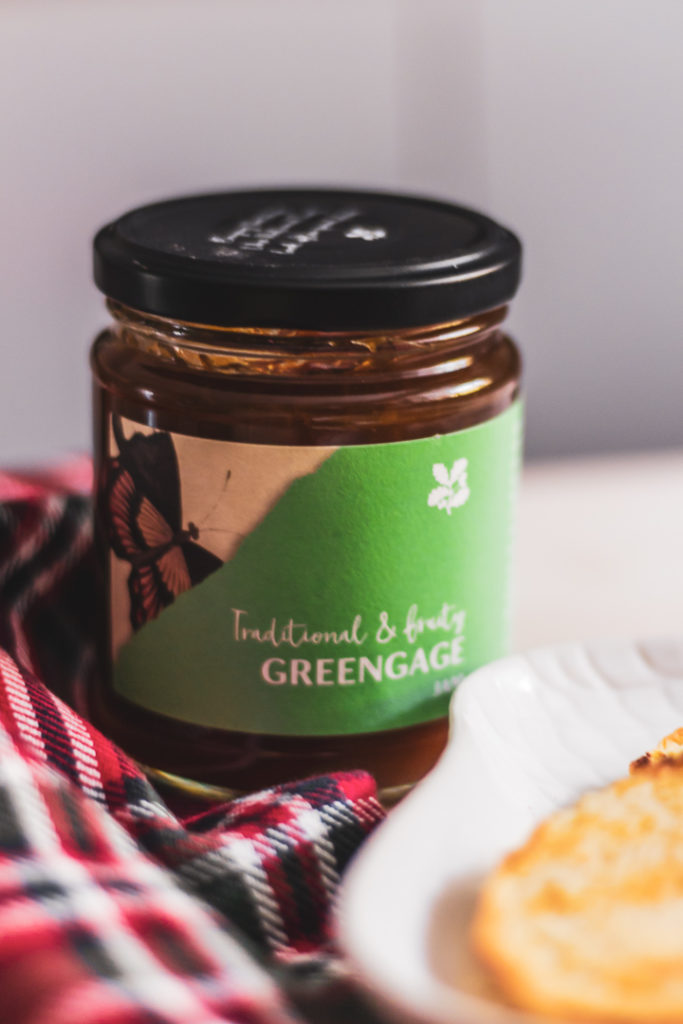
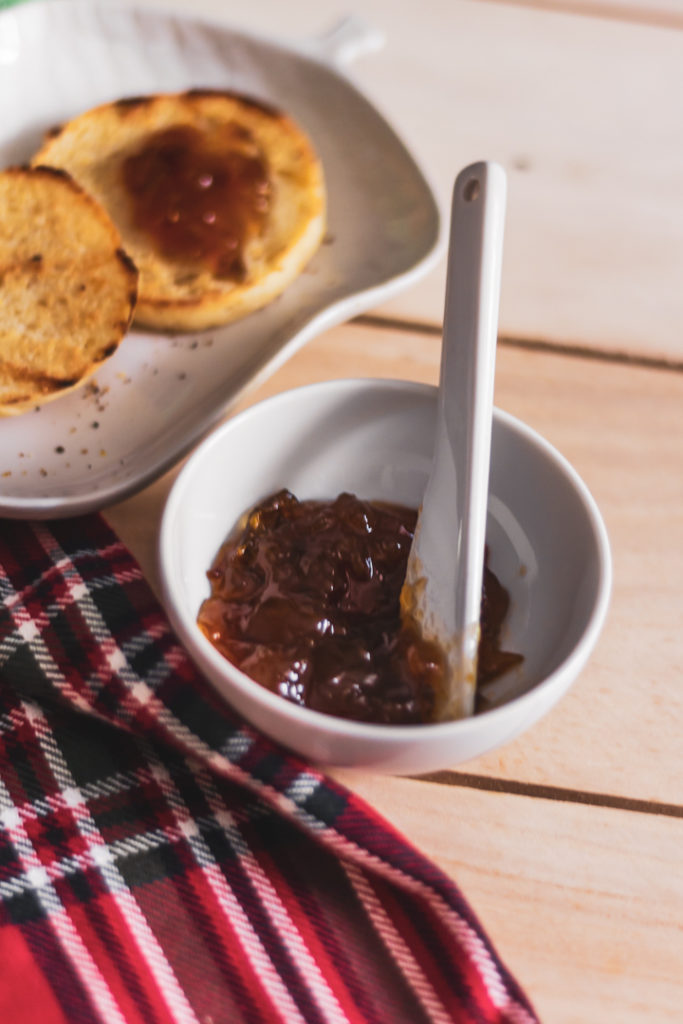
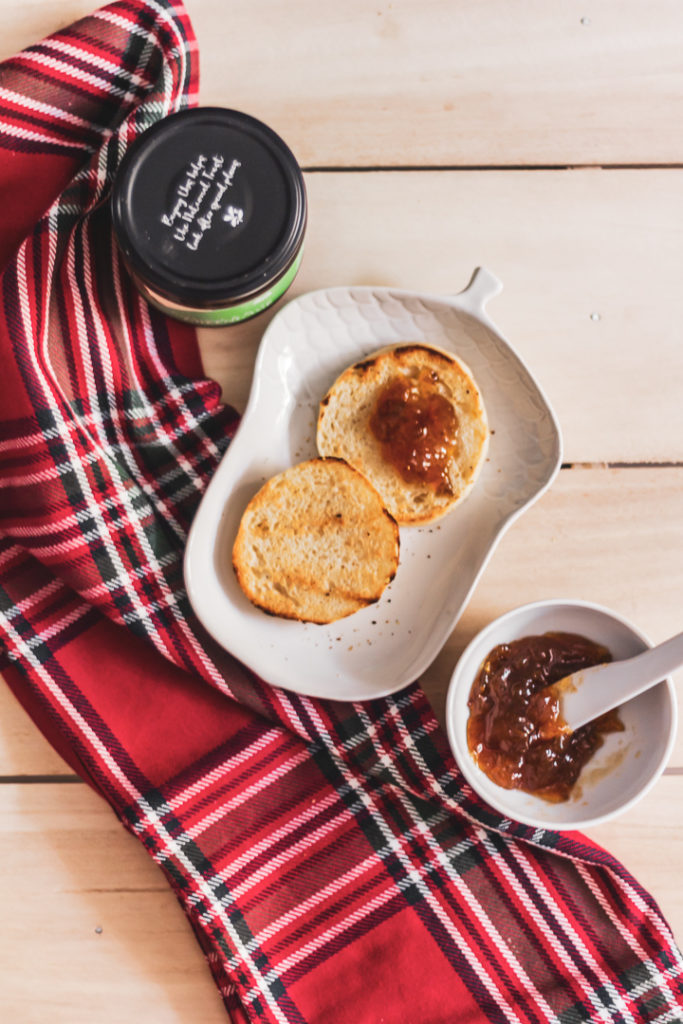
Split the English muffins with a fork, spread with butter or jam (or both!), and eat. English muffins will keep for several days in an airtight container on the counter and are fantastic warmed in the toaster oven. Fresh English muffins can also be wrapped tightly in plastic wrap or aluminum
Ingridents |
- 1 cup whole milk
- 1 teaspoon active dry or instant yeast
- 2 tablespoons sugar
- 2 tablespoons unsalted butter, melted
- 1 teaspoon salt
- 3 to 3 1/4 cups (13 1/2 to 14 1/2 ounces) all-purpose flour or bread flour
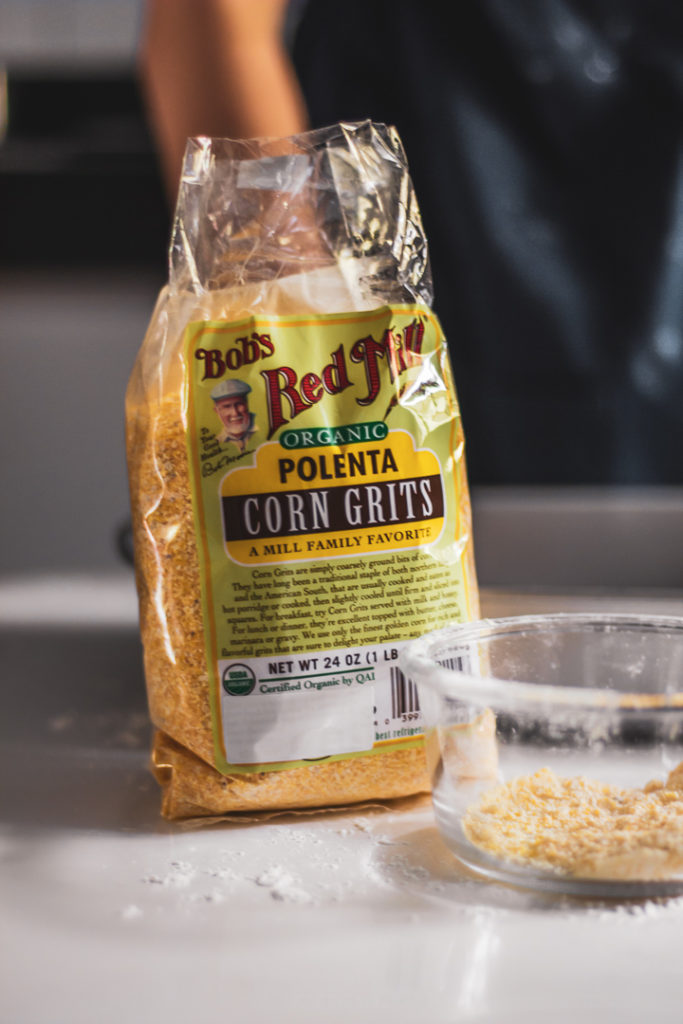
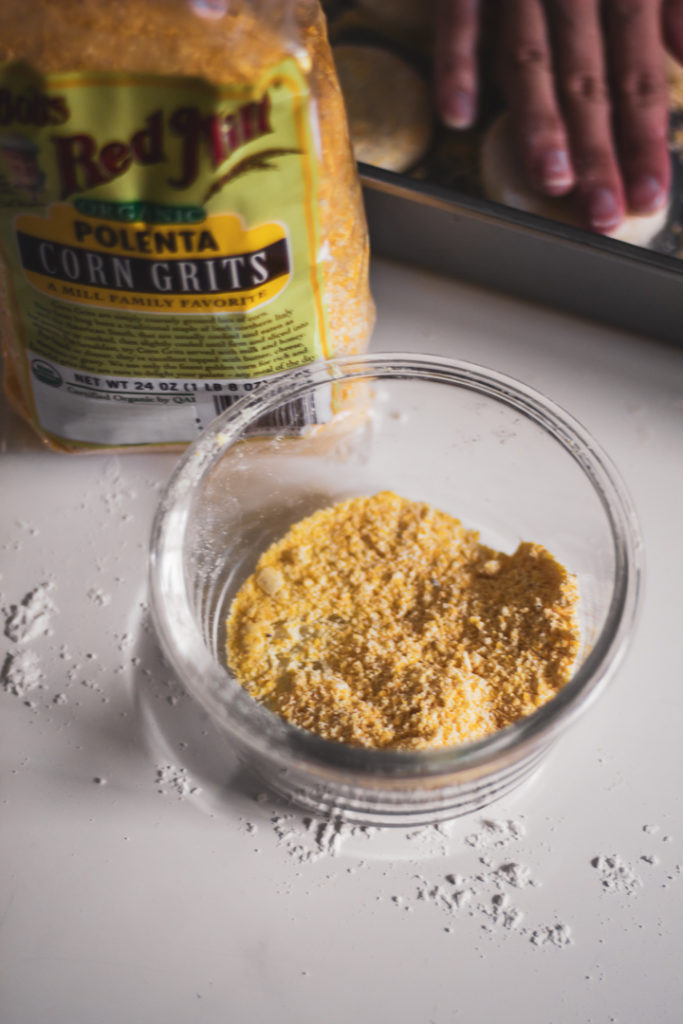
- Cornmeal for dusting
- Butter for the skillet
Method |
In the bowl of a stand mixer or large mixing bowl, combine the milk and yeast for the dough. Scrape the starter into the bowl and use a whisk to break it up and dissolve it into the milk. It should become quite frothy.
Add the sugar, butter, and salt to the bowl and whisk to combine. Add 3 cups of the flour and stir with a stiff spatula until you form a shaggy, floury dough.
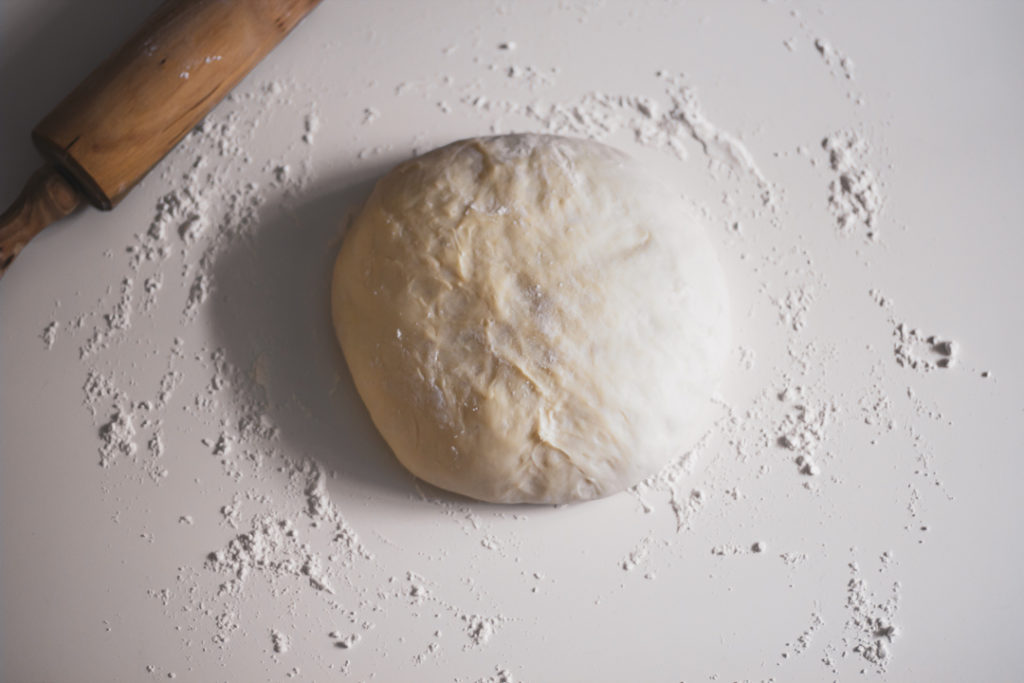
Knead by hand against the counter, tills the dough come together. If the dough is very sticky like bubble gum, add extra flour as needed. The dough is ready when it forms into a smooth ball and springs back when poked; it will feel slightly tacky to the touch, but shouldn’t stick to the bowl or your hands.
Transfer the dough to a large bowl lightly filmed with oil. You can also let the dough rise at room temperature until doubled in bulk, 1 1/2 to 2 hours, and then make the muffins immediately.
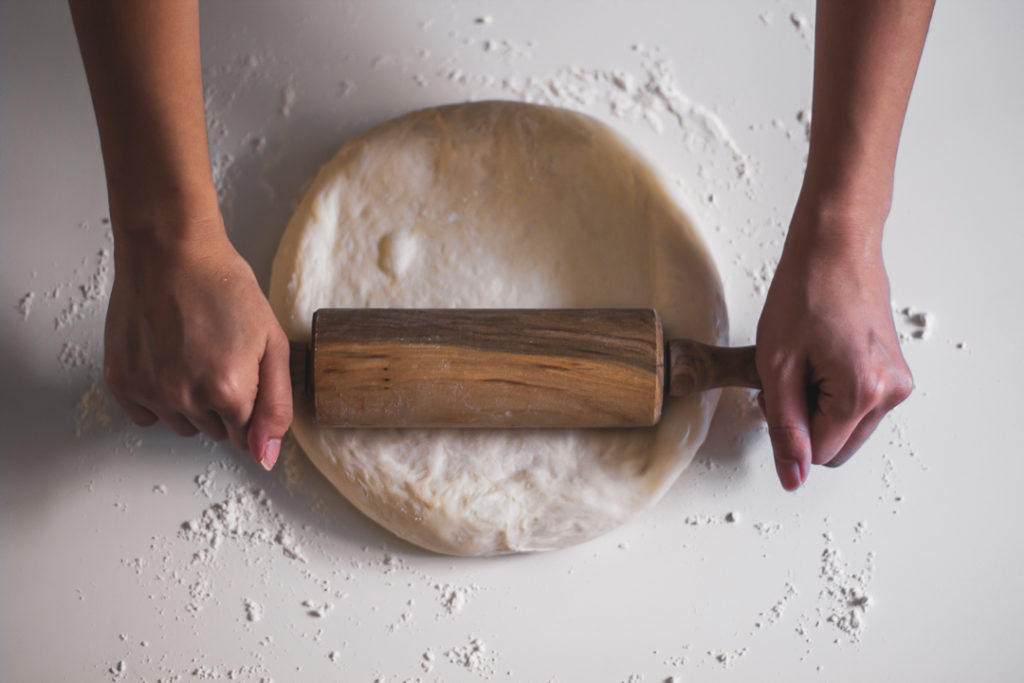
Turn the risen dough out onto a lightly floured work surface. Use a pastry scraper to divide the dough into 12 equal pieces. Roll each piece gently against the counter to shape into smooth, round balls.
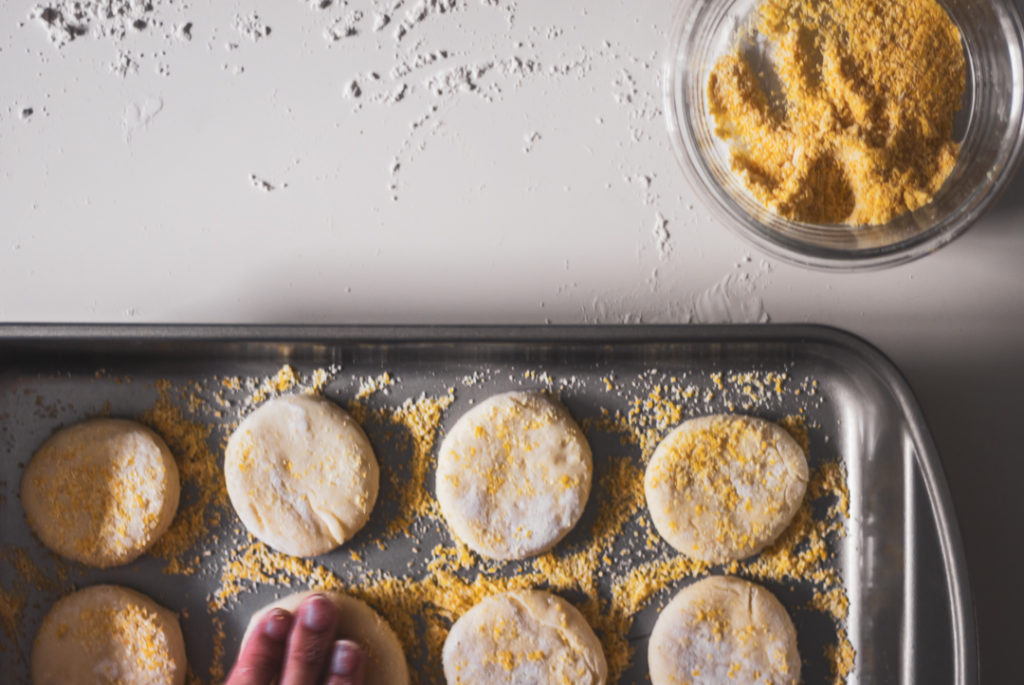
Scatter cornmeal generously over a baking sheet and arrange the balls on top, spaced a little apart. If you have muffin rings, place them around the balls at this point. Sprinkle the tops of the balls with more cornmeal.
For room temperature dough, this will take about 1 hour. Depending on the size of your muffin rings, the muffins may not totally fill the rings — that’s okay.
When ready to cook the muffins, warm a large skillet over medium heat. Melt a small pat of butter — enough to just coat the bottom of the pan and prevent sticking.
Cook the muffins 5 to 6 minutes on one side: Working in batches, transfer a few of the muffins to the skillet — allow an inch or so of space between muffins and do not crowd the pan. If using rings, transfer the muffins with their rings to the pan. Cook until the bottoms of the muffins are golden brown, 5 to 6 minutes.
Transfer cooked muffins to a cooling rack. Continue working in batches until all the muffins have been cooked. Add a small pat of butter to the pan between batches to prevent sticking.
Split and serve!
I hope you enjoy these English muffins as much as we do! Share your muffin with us by taking a photo of your version, send us an email, tag us on Instagram, tweet us or leave us a comment! We love to see you trying out our recipe! Share the love lots!
xoxo, Joe


No Comments