

Weekend mornings and you drag yourself from the bed, and slip into the kitchen because, well, you’ve invited family or friends over to brunch. While you are cracking your head what to make – here’s an idea. Why don’t you put together a pancake board?
Meanwhile, it is a new food trend hitting social media just as we speak, pancake boards are perhaps the natural progression from cheese boards, charcuterie boards and even meat boards. It’s certainly a gorgeous, Instagram-friendly way to serve breakfast. So we decide to try it and tell you it is not difficult at all!
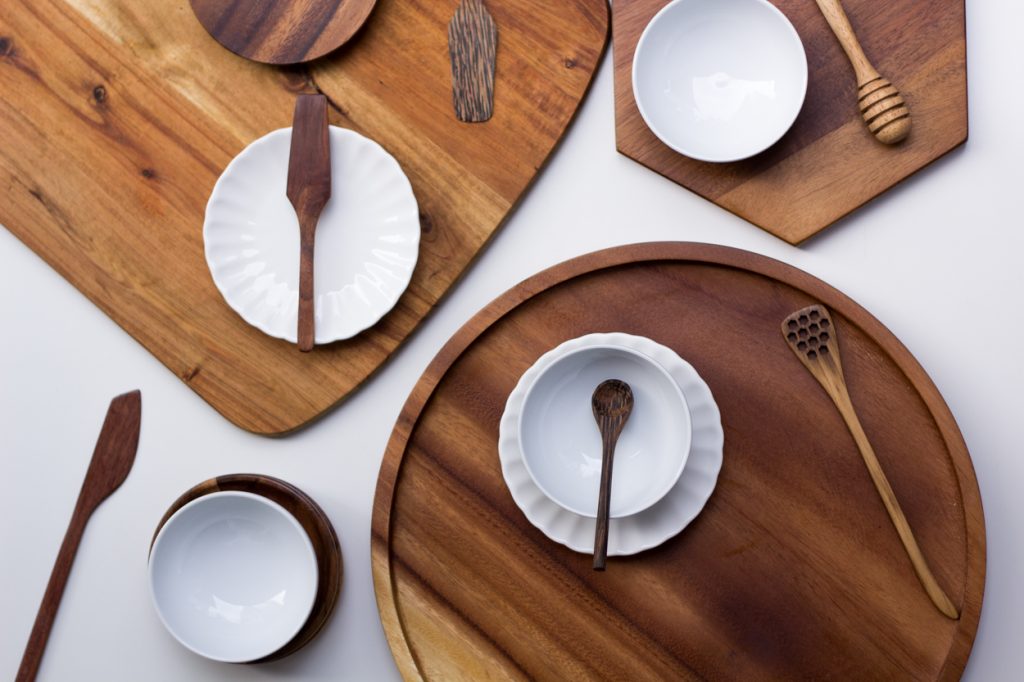
Finding the prefect board
A pancake board acts as a frame for the food. You’ll want a surface area that’s larger than a typical cutting board. Joe and I, both of us are meat and cheese lovers and therefore we have been collecting lots of premium boards over the years.
Choose a board that you like, it can be a round-shaped, squares, wooden or even porcelain. Be creative – anything that you found at home that is big enough to put all things in it. We also suggest having some small plates or bowls for a dynamic effect. Be sure to wash your board(s) in hot, soapy water beforehand, or simply cover them with parchment paper.
Filling up the Pancake Board
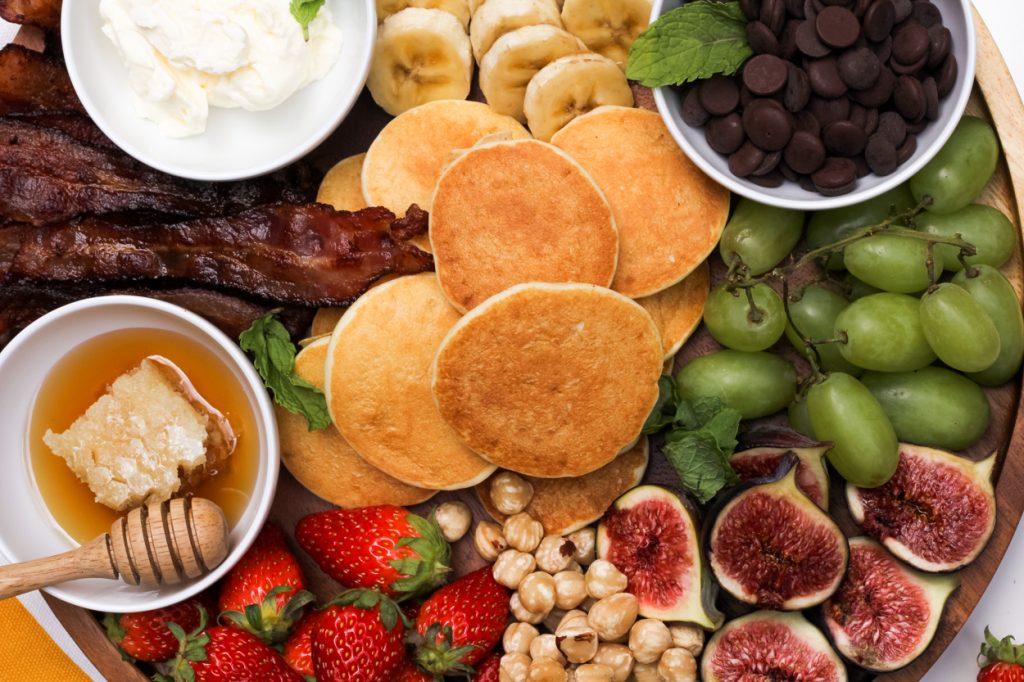
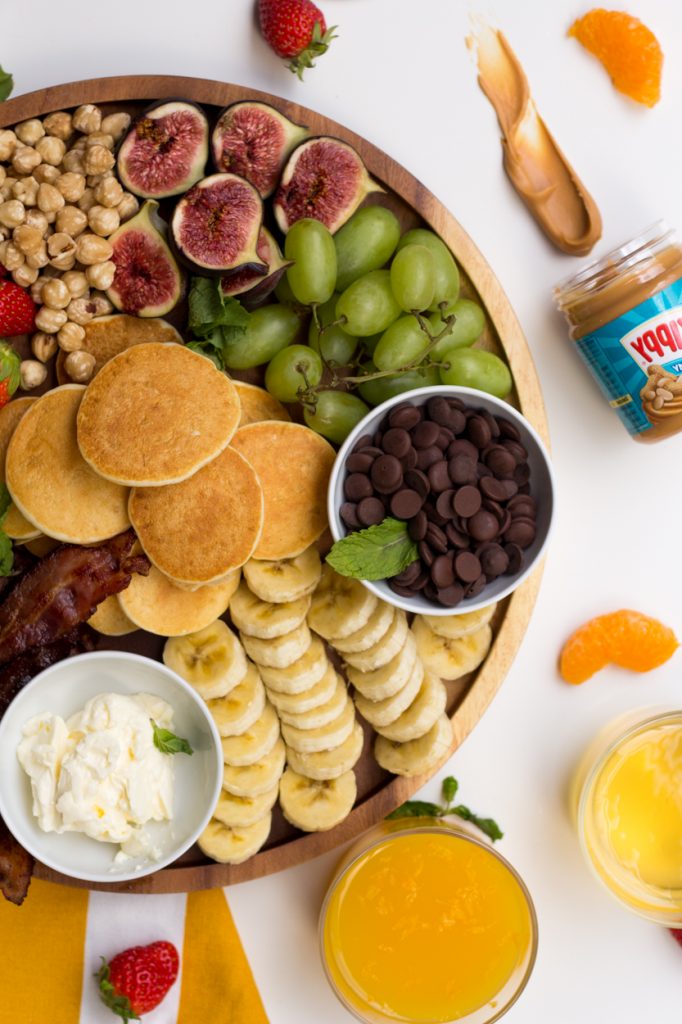
- Pancake. Usually, we suggest making bite-size for your pancakes (unless you have an enormous board). Depend on your board size, you make your pancake accordingly based on the spaces you have. We go with bite-size pancakes as our plate wasn’t that huge to fill in all the ingredients we want.
- Fruits. Plan ahead and get the ingredients you like – get fruits and spreads you in love with! For this Spring, usually, we banana, grapes, strawberries and berries, also by chance we highly recommend figs, peach and kiwi!
- Savoury. Never forgot those prefer savoury, our favourite choice are chorizo, bacon but for the seafood lover, smoked salmon is a great choice as well. These days we avoiding raw food as much as possible for health reason! Roasted nuts (all kind of nuts that you could or you love), cheese and egg are great combos!
- Nuts. Serve almonds, walnuts, macadamia nuts, or whatever you’d like. You may want to crush them (either slice with a heavy knife or put them in a resealable plastic bag and hammer them with a meat tenderizer) so they are easier to sprinkle.
- Syrup/Jam. Maple syrup or honey and cream is a must! While those who prefer something else you can also consider coffee spread, peanut butter, Nutella.
- Whipped cream. Say no more, right? You can make whipped cream ahead of time and keep it in the fridge overnight.
Creating Your Pancake Board, Step-by-Step
- The night before: pancake board make-ahead
There are a handful of things you can do the night before to save time in the morning: e.g., prepare the pancake batter (make 2 to 3 batches, then store in a covered container like a mason jar), wash fruit (but wait to slice it), prepare a pan with bacon, whip up cream, make candied nuts, etc. - Map the pancake board
You can do this the night before or first thing in the morning, but it’s helpful to get an idea of where everything will go. Make sure you have all the plates, bowls, and serving utensils you’ll need, and arrange them where you want them. Make little notes of where everything goes to be sure you’ve accounted for everything. You may make changes as you start adding the food, but it’s nice to have a place to start. - Pancake day: what to make first
Make all your hot items first, like potatoes and bacon, then put them in 80 C oven to stay warm while you make the pancakes. - Arrange cold items on board
While your pancake griddle heats up, get out all your toppings that will be okay out of the fridge for the next 20 minutes, such as fruit and syrup. Be sure to take the butter out of the fridge so it can soften. Slice up “finger fruits” like oranges, mango, peaches, etc. and set aside. If you’re slicing apples, pears, and bananas, give them a quick dunk in lemon water so they don’t turn brown. - Make the pancakes
Use a ladle or measuring cup to scoop and pour batter onto the griddle to keep your pancake size consistent. And to keep them warm while you make additional batches, arrange them in a single layer on an oiled cooling rack and place them, uncovered, in a warm oven for up to 20 minutes. - Place final items on board
If there’s anything else from the fridge that needs to go on the board, like whipped cream, do this right before you arrange the pancakes. Then, add bacon, potatoes, and toppings that go in bowls. Next: pancakes! You can fan them out, arrange them in several short or tall stacks, or whatever you’d like. Lastly, fill in in empty spots on the board with sliced fruit.

We hope you give this gorgeous breakfast board a try, especially for brunch with friends or family. The board is also a wonderful idea for breakfast.
xoxo, Angela + Joe


No Comments