

We are so excited to share this post – making your own Kombucha Scoby. Oh yeah! We have prepared this post for the longest time as we need to experience and try on it ourselves before sharing our thoughts and actual experience on it! We’ve been addicted to kombucha from the first sip. It wasn’t really the probiotics or other health promises that did it for us — although we’ll take those, too! It was the way it tasted: like tart green apple mixed with sour stone fruits, but with an underlying sweetness that keeps it all together. And fizzy! We couldn’t believe that something this delicious could actually be made from tea, of all things. Or that we could make it at home with a few very basic ingredients.
We will not lie to you that it’s easy as it required your time and patience. Initially, we didn’t expect we have but when we shared this post, it’s the 3rd batch of the Kombucha Scoby making. We try on the various recipes online but it didn’t work on our first batch but we go with our guts and give it a tweak and here is our getaway to share with you folks. This guide will be served the best result in Asian weather conditions – since Singapore are a typical tropical climate.

What is Kombucha Scoby?
“Scoby” is actually an acronym: Symbiotic Culture Of Bacteria and Yeast. Eww… like it sounds. A Scoby is the living home for the bacteria and yeast that transform sweet tea into tangy, fizzy kombucha — think of the Scoby as the coral reef of the bacteria and yeast world. It is a rubbery raft that floats on the surface of the kombucha. Aside from being a home for yeast and good bacteria, the Scoby seals off the fermenting kombucha from the air and protects it from outside, undesirable bacterias while it’s fermenting.
There’s really no arguing that it’s ugly and it looks kind of alien-looking. And yeah, even downright gross. But dang it! Scobys make some delicious kombucha! If you want to save a few bucks on your ‘booch habit, there’s just no getting around it. You’re going to need a Scoby.
You can get a slice of Scoby from a kombucha-brewing friend, or you can order a fresh one online. But there’s one more option: you can grow your own from scratch.

What tea leaves to use?
Use pure black, green, white, or oolong tea for brewing kombucha. You’ll get the cleanest flavour and the most impact from the nutrients from the leaves of the Camellia sinensis plant. You can even blend different tea leaves together to create different flavour profiles. Avoid using scented or flavoured teas; the chemical compounds used in the flavouring process could have a negative effect on the growth of your kombucha culture.
Don’t try to use herbs like peppermint or chamomile as your brewed tea base. Herbs won’t be able to provide the nutrients necessary to feed your kombucha culture. Herbs may also introduce naturals oils, which can interfere with the Scoby’s ability to absorb oxygen, or antibacterial properties, which can harm the bacteria component of the Scoby.
What’s a starter tea?
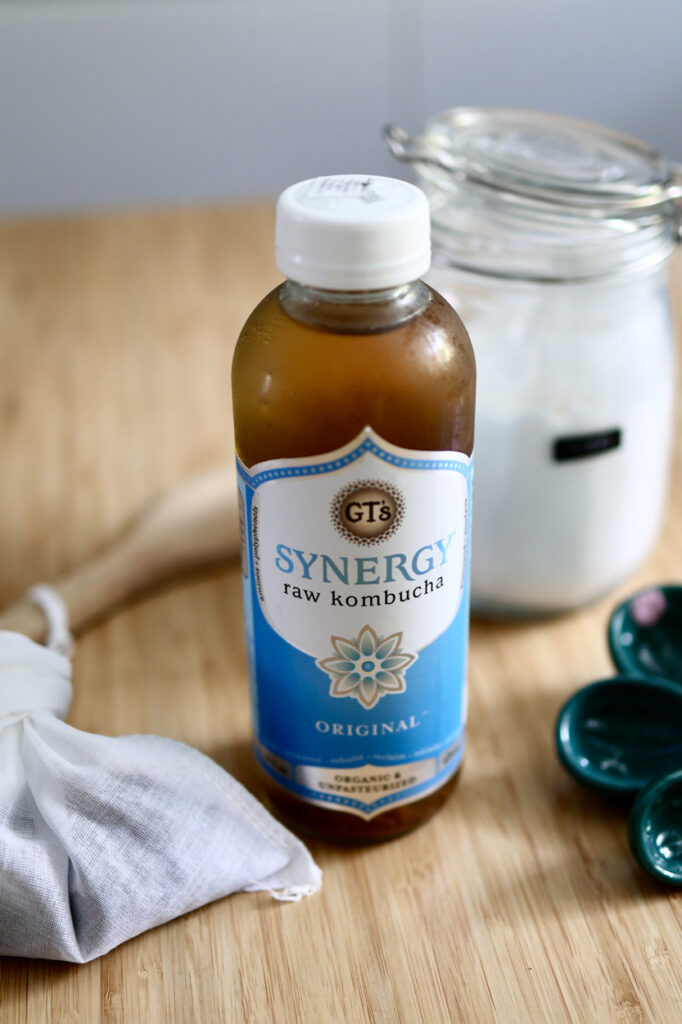
“Kombucha Starter Tea” is raw, healthy, aged kombucha that contains the living bacteria and yeast needed to brew kombucha. This liquid kombucha culture is usually taken from a previous batch of kombucha and is then used to kick start a new batch of kombucha, hence the name starter tea. We using the Original Raw Kombucha by Synergy.
We make it easy for you to follow through the visual, just follow the step.


How to grow your own Scoby?
You have to start by making sweet tea, which is a combination of water, sugar and your choice of tea. Allow the steep tea cools to room temperature before the next step. After cooling all you need to do is to combine the sweet tea and kombucha in a jar. You have to make sure to have your jar sterilise well and cool down before use.
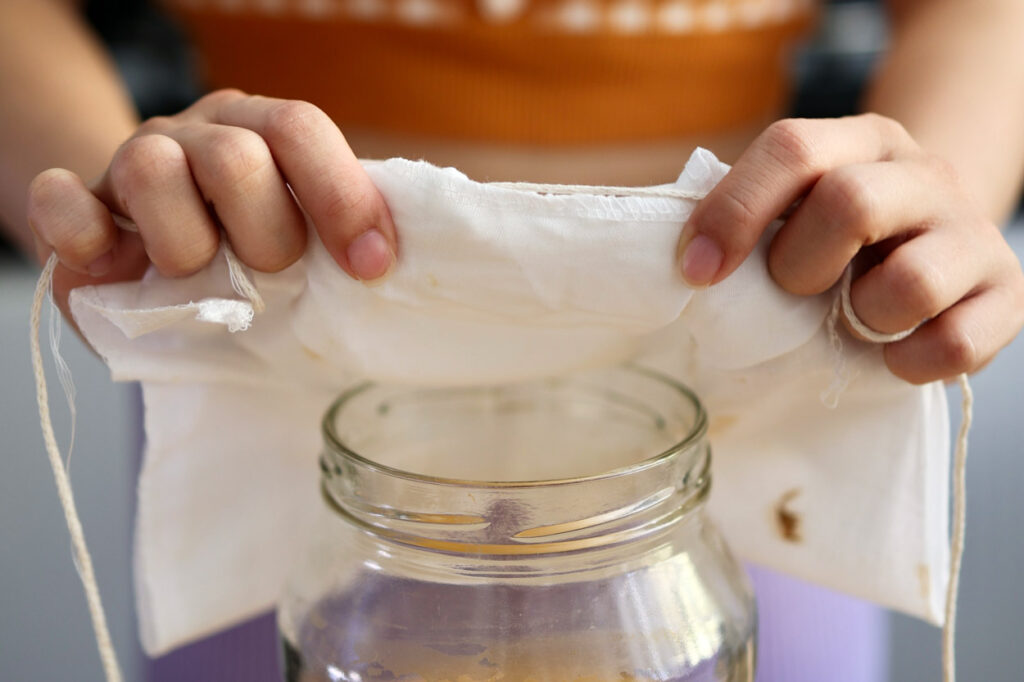
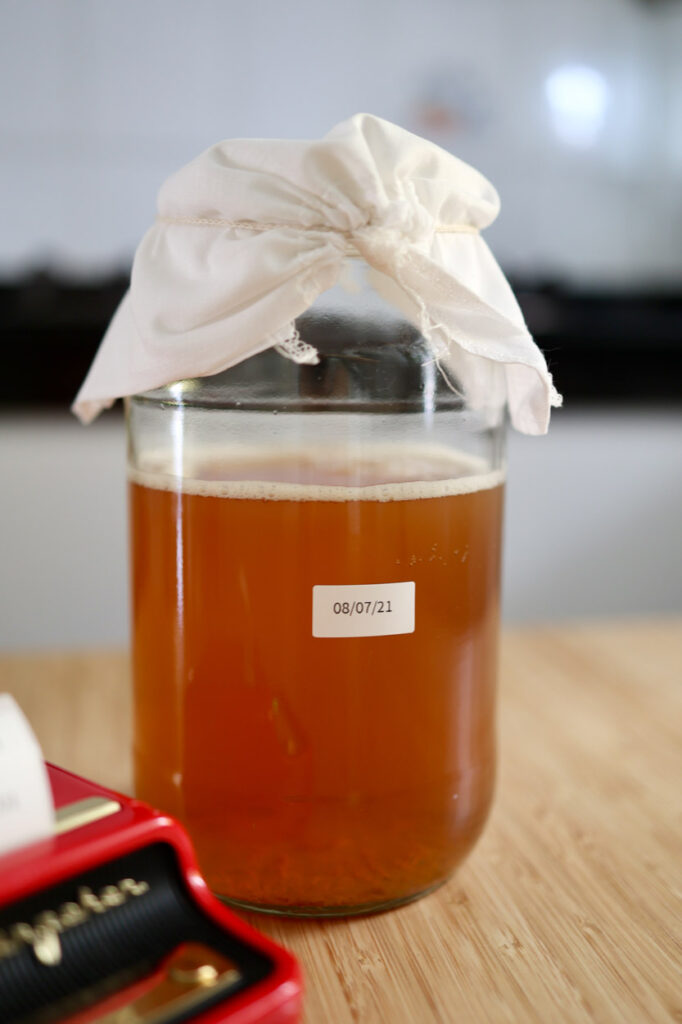
Cover and store for 1 to 4 weeks with a few layers of tightly woven cloth, coffee filters, or paper towels secured with a rubber band.We use cheesecloth initially which is not ideal because it’s easy for small insects, like fruit flies, to wiggle through the layers.
Store the jar somewhere at average room temperature, out of direct sunlight, and where it won’t get jostled. Sunlight can prevent the kombucha from fermenting and the Scoby from forming, so wrap the jar in a cloth if you can’t keep it away from sunlight.
How does the finished Scoby look like? Your finished Scoby might look a little nubbly, rough, patchy, or otherwise “not quite like a grown-up Scoby.” It’s ok! Your Scoby will start to smooth out and take on a uniform colour over the course of a few batches of kombucha.


Take note of the food safety
Because this is home fermentation, you’ll want to take extra care to ensure all of your containers and tools are sterilized. we recommend immersing your jars and bottles in boiling water for a few minutes to eliminate undesirable pathogens from sneaking their way into your brew. Wash your hands well and keep your jar in a place where it won’t be disturbed, far away from activity and potentially germy situations.
Pay close attention to how your Scoby looks—but only after the first week. It will look quite funky at the beginning with patchy white snowflake shapes, so avoid spending time in the first few days agonizing over whether you’re breeding a Scoby or mould. But if you begin to see green, black, fuzzy and dry spots, it’s most definitely mould. When that happens, always veer on the safe side: toss the entire batch and start anew.
A growing Scoby will start off looking very stringy—that’s due to the yeast clusters. Over time, it should become a floating layer of milky, semi-opaque jelly that covers the surface of your tea mixture and conforms to the shape of your container. Use all of your senses to check in on the health of your Scoby it should smell sweet and vinegary, it should look smooth and glossy after it’s fully developed, and it should feel resilient and flexible, not brittle. The newly formed Scobys will be whiter in colour while older Scobys will be darker and browner.

xoxo, Angela

How to make your own Kombucha Scoby
Ingredients
7 cups water
1/2 cup white granulated sugar (see Recipe Notes)
4 bags black tea, or 1 tablespoon looseleaf (see Recipe Note)
1 cup unflavored, unpasteurized store-bought kombucha
Methods
- Make the sweet tea. Bring the water to a boil. Remove the pan from heat and stir in the sugar until it is completely dissolved. Add the tea and allow it to steep until the tea cools to room temperature. Remove and discard the tea. (Alternatively, boil half the amount of water, dissolve the sugar and steep the tea, then add the remaining water to cool the tea more rapidly.)
- Combine the sweet tea and kombucha in a jar. Pour the sweet tea into the jar. Pour the kombucha on top — if you see a blobby “baby Scoby” in the bottom of your jar of commercial kombucha, make sure this gets transferred. (But if you don’t see one, don’t worry! Your Scoby will still form.) Stir to combine.
- Cover and store for 1 to 4 weeks. Cover the mouth of the jar with a few layers of tightly woven cloth, coffee filters, or paper towels secured with a rubber band. (If you develop problems with gnats or fruit flies, use a tightly woven cloth or paper towels, which will do a better job keeping the insects out of your brew.) Place the jar somewhere at average room temperature (70°F), out of direct sunlight, and where it won’t get jostled. Sunlight can prevent the kombucha from fermenting and the Scoby from forming, so wrap the jar in a cloth if you can’t keep it away from sunlight.
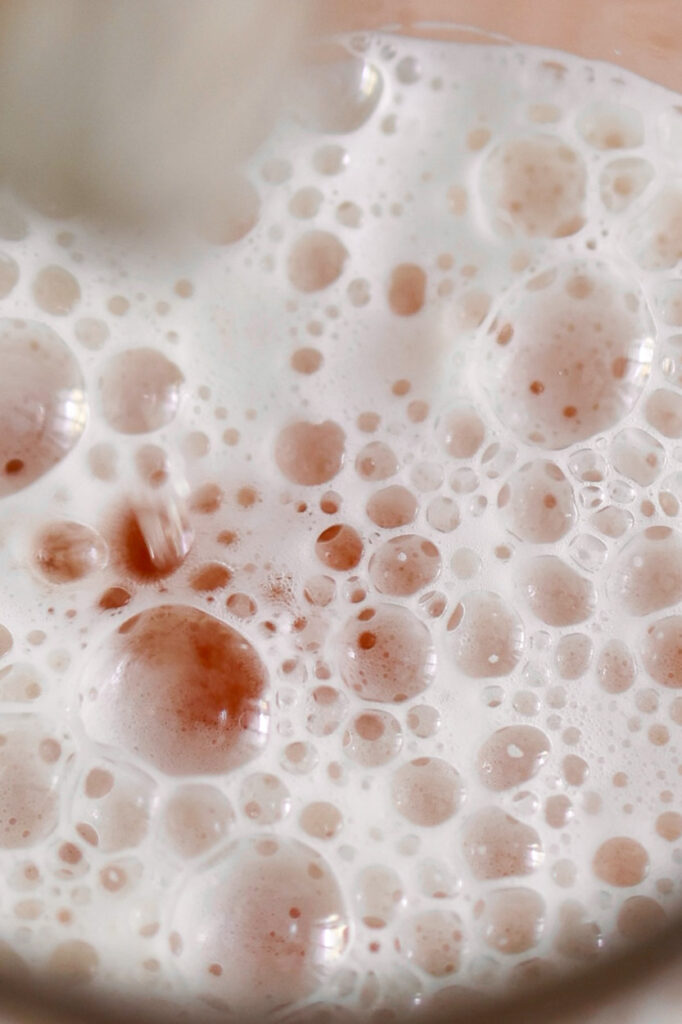
- First, bubbles will gather on the surface. For the first few days, nothing will happen. Then you’ll start to see groups of tiny bubbles starting to collect on the surface.
- Then, the bubbles will collect into a film. After a few more days, the groups of bubbles will start to connect and form a thin, transparent, jelly-like film across the surface of the tea. You’ll also see bubbles forming around the edges of the film. This is carbon dioxide from the fermenting tea and a sign that everything is healthy and happy!
- The film will thicken into a solid, opaque layer. Over the next few days, the layer will continue to thicken and gradually become opaque. When the Scoby is about 1/4-inch thick, it’s ready to be used to make kombucha tea — depending on the temperature and conditions in your kitchen, this might take anywhere from 1 to 4 weeks.
- The finished Scoby: Your finished Scoby might look a little nubbly, rough, patchy, or otherwise “not quite like a grown-up Scoby.” It’s ok! Your Scoby will start to smooth out and take on a uniform colour over the course of a few batches of kombucha — take a look a the before and after pictures of a baby and grown-up Mother Scoby in the gallery above.
- Using the liquid used to grow the Scoby: The liquid used to grow the Scoby will likely be too strong and vinegary to drink (and if you’re not used to drinking kombucha or very vinegary beverages, it can give you a stomach ache). You can use it to start your first batch of kombucha, or you can use it as a cleaning solution on your counters.


No Comments