

Sleeping with a sleeping mask has been so essential for me since the beginning of this year. I’m a light sleeper and it took me hours to fall asleep, however with a sleeping mask, it allows me to have a well rested night. For those who decide to get something comfortable and cheap why not spend sometimes sew your own sleeping mask?
This sleeping mask is also perfect for those who want to catch a small nap when you’re traveling. Whether you are flying a red eye or sharing a cabin by the lake, there are many reasons to shut out the light from the outside world to help catch some quality shut-eye. Sewing a travel eye mask is a super quick and easy project. And, as it only takes a little bit of fabric, it is a great stash-buster too! Whip up a few for the whole family so you can all get some beauty sleep on your next vacation.
Other than using the basic sleeping eye mask shape that we have in the market. We redesigned it to make it in a cloud shape. It gives a dreamy feeling, seems like we will always be having a good dream once we wear it. Thus one of the main points of this project is to use the cloudy eye mask template that we designed. In addition to the pattern, you’ll need some basic tools to get the job done.
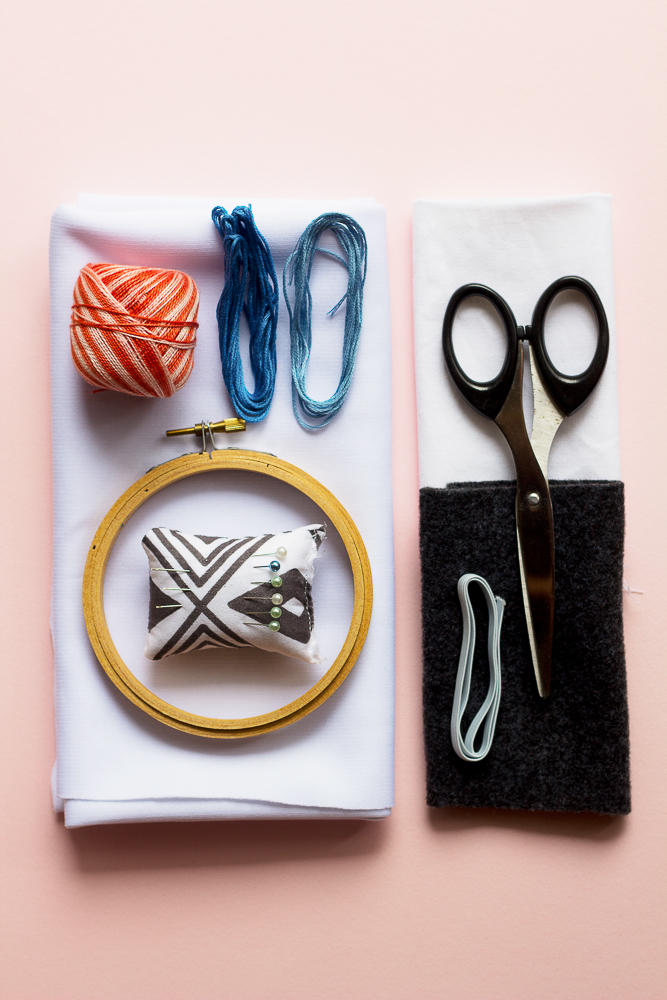
Some of the materials needed for this project are;
- Cloudy eye masks template
- Fabric for the outside layers
- Felt/Cotton for the lining
- Clear ruler
- Pins
- Scissors
- Elastic (this will be visible, so choose a color you like with your fabric)
- Thread (note that there is top stitching so choose your thread accordingly)
Tip: Choose fabrics that are comfortable on your face and also easy to wash, as it will get dirty from mascara and face oils and will require frequent washing.

- Print out the Cloudy eye masks template on the a4. Once the size is confirmed correct, using your paper scissors, cut out the pattern for the eye mask.
- You will need three layers of fabric for the mask. Pin the pattern to the fabric of your choice. For us, we use two different type of materials for both layers of fabric. Fabric on the outside has a rougher surface, allowing us to do embroidery work on it.
- Next, we cut one single layer of the batting of your choice. The batting I picked is a thin layer of felt which worked perfectly. For the felt in the middle, a dark colored fabric is used, as it mimics the darkness of night!
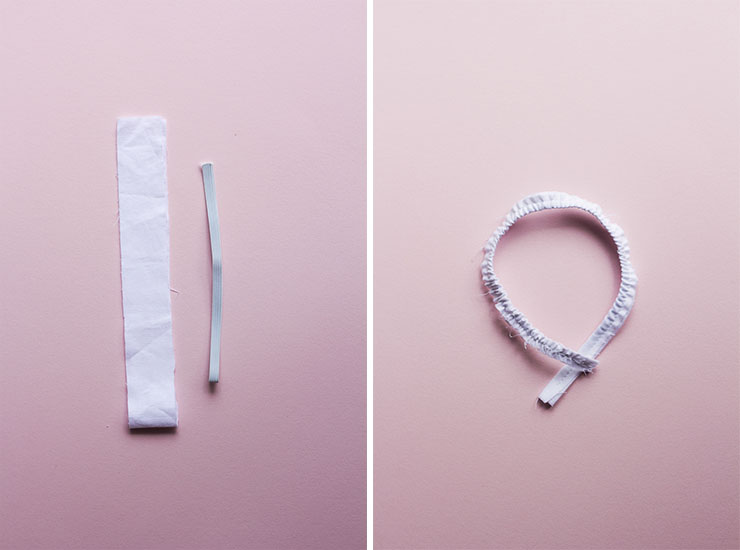
4. Measure down from the top of the mask and pin the elastic in place on the right side of the fabric. Repeat on the other side of the mask. The pattern calls for the elastic to be 13 3/8″ in length. Measure your head to make sure that size will fit you correctly. Remember you will loose 3/8″ on either side for the seam allowance. You want it to be fitted, but not too tight.
For us, we worry that the elastic will tangle our hair thus we sew a border around it using a straight stitch. It also gives more detailed for the elastic.

5. Personally, we have fallen in love with embroidery, therefore, while we were designing this Miss Cloudy Sleeping Mask. We decide to have some embroidery work on it. This embroidery work might be tricky in the beginning. However, after awhile we are sure that you will get hooked to it.
6. We wanted the batting to be on the inside facing my eyes, so we pinned slightly different from what the pattern calls for. The order of the fabric will be the batting, inner fabric, the elastic and lastly the outer fabric (the wrong side up). Follow the shape of the fabric, sew it accordingly.
We like to pin the opening at the top parallel to the fabric’s edge and the rest perpendicular to the fabric’s edge. This tells us that this area is to be left open and the difference in pinning gives us an advance warning to stop. Using a 3/8″ seam allowance, sew all the way around the mask, leaving a 2″ opening at the top along the flat edge.

7. Use the curvy end of a point turner and open up the seams around the entire mask. At the opening left along the top of the mask, fold the seam allowance into the inside. Take your time to finger press the edges as to create a smooth line.
8. Pin the opening closed and press with an iron if necessary. Top stitch around the perimeter of the entire mask, closing the opening left in the top at the same time. Use a 1/4-1/8″ seam allowance and a thread color you like on top of your fabric.
You may also use an iron, give the mask a final press, and that’s it! These turned out so cute and were easy to make! So they would be a great personalized gift for someone special. I’m hoping that my eye mask will make you feel more at home when you’re away and help you to have the sweetest dreams!
Please make them and take a photo, send us an email, tag us on Instagram, tweet us, anything. We love to see yours!
xoxo, Angela.


No Comments