
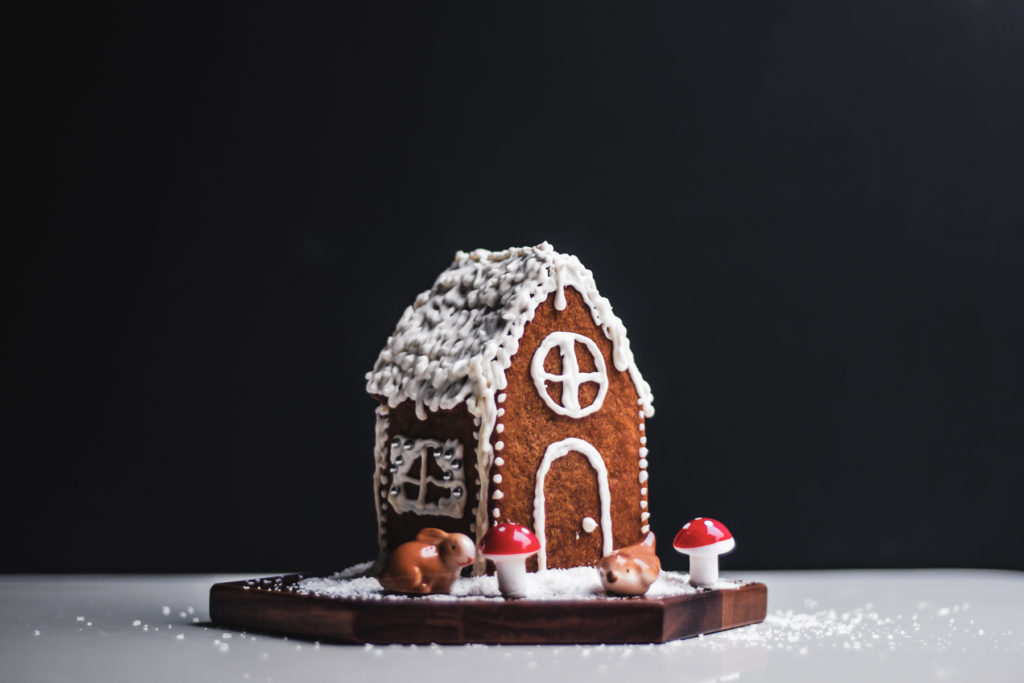
Ho Ho Ho, Merry Christmas! A gingerbread house is a lovely way to decorate for the holiday season. You can bake the house from scratch, assemble, and decorate it to make it truly yours. This project is broken down into the steps you need to take.
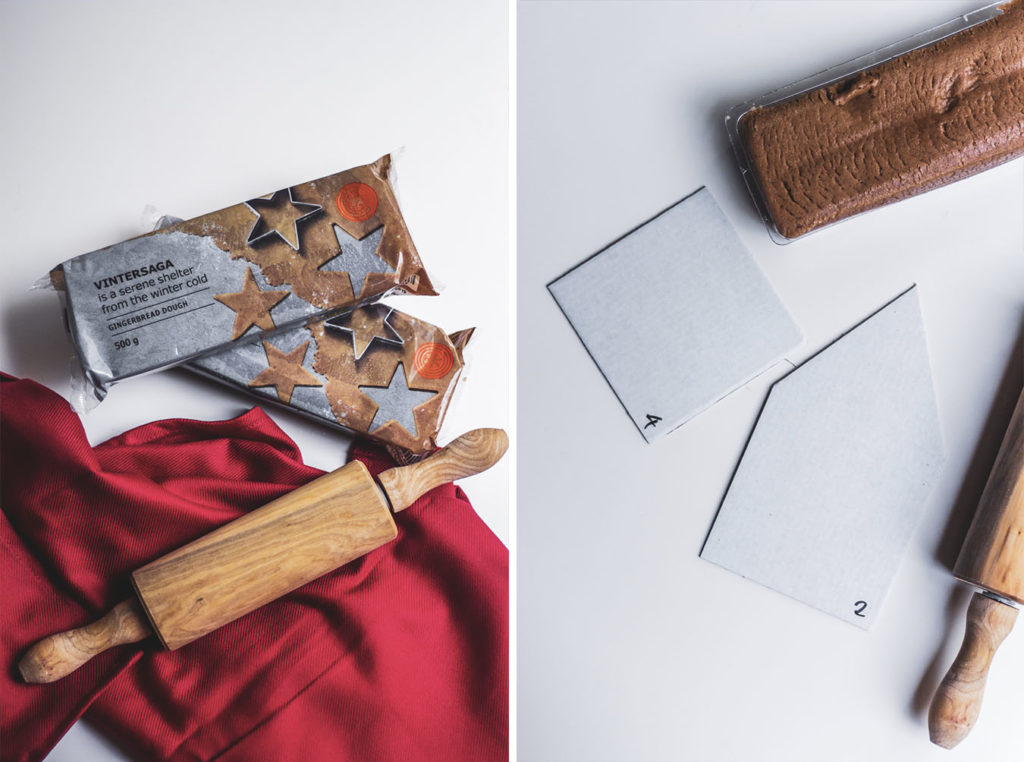
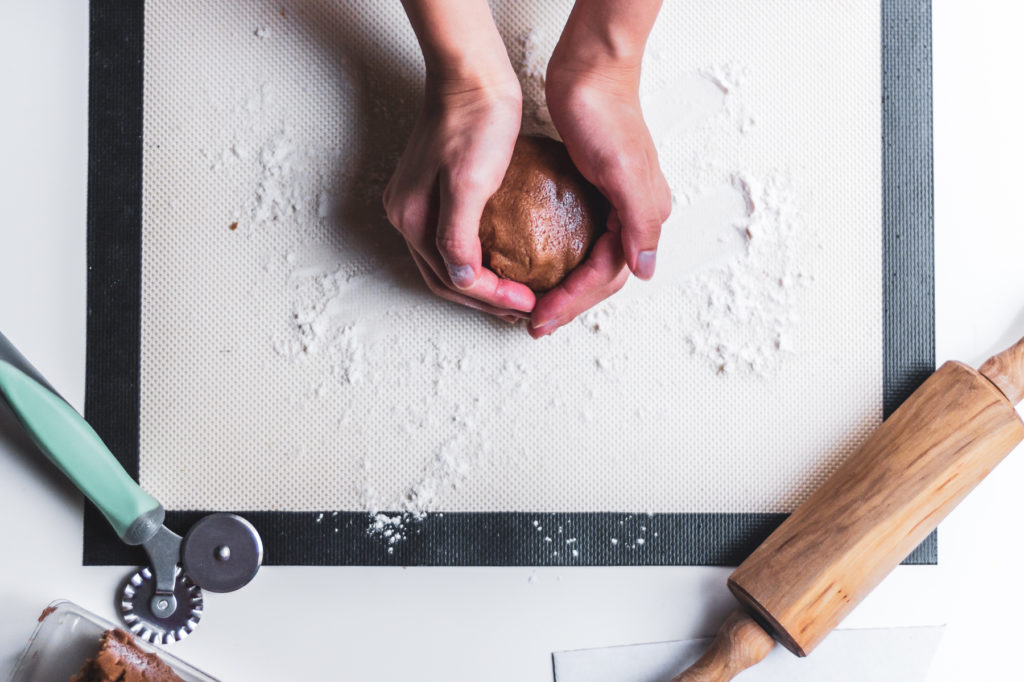
Step 1: Making your gingerbread biscuit
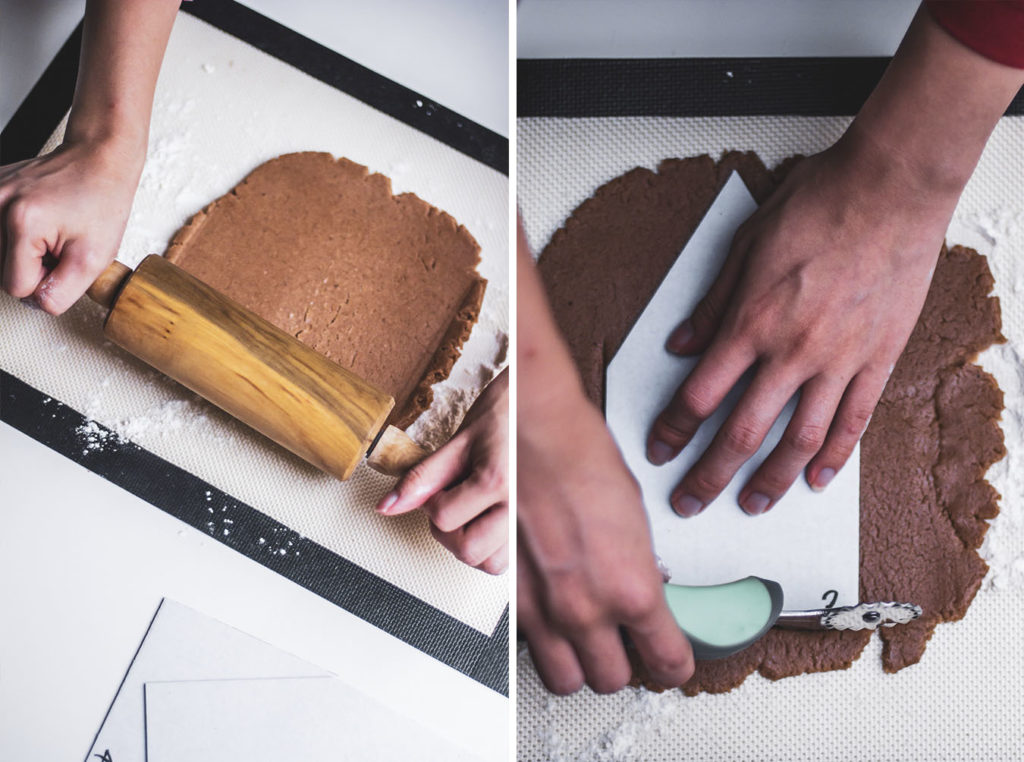
Roll the gingerbread dough directly onto the parchment paper to a thickness of 1/4 inch. Try to cover the entire sheet of parchment paper with rolled-out dough so you’ll be able to cut the maximum number of pieces.
Lightly dust one side of the cardboard pattern pieces with flour and place them floured-side down on the rolled-out gingerbread dough, leaving a 1-inch space between pieces. Try to fit as many as you can without crowding. For clean edges, cut with a non-serrated pizza wheel or pastry cutter.
Carefully remove the gingerbread dough scraps and cover them with plastic wrap until ready to re-roll for the rest of the pieces.
Bake as the recipe instructs. Make sure the pieces are slightly brown around the edges and bottom. Repeat until you have all the pieces you need cut and baked.
Never pick up individual rolled and cut pieces of gingerbread by hand to transfer them to a baking pan. This will distort them. Instead, pick up the parchment paper by opposite corners and place it on the baking pan.
Step 2: Making your icing sugar
Royal icing is the edible “glue” or mortar that holds a gingerbread house together. It can also be used to make fancy sugar decorations. Royal icing got its name from being used to cover fruitcake to keep it moist. Fruitcakes were, and still are, the traditional wedding cake of English royalty.
If the gingerbread house and royal icing will be eaten after it has served its decorative purpose, we prefer to use pasteurized fresh egg whites (now available at grocery stores in cartons) instead of meringue powder because the result is smoother and it has better “
Make sure the egg whites are at room temperature for better volume and are careful not to over-whip your royal icing or it will crack as it dries and your house will collapse.
Step 3: A
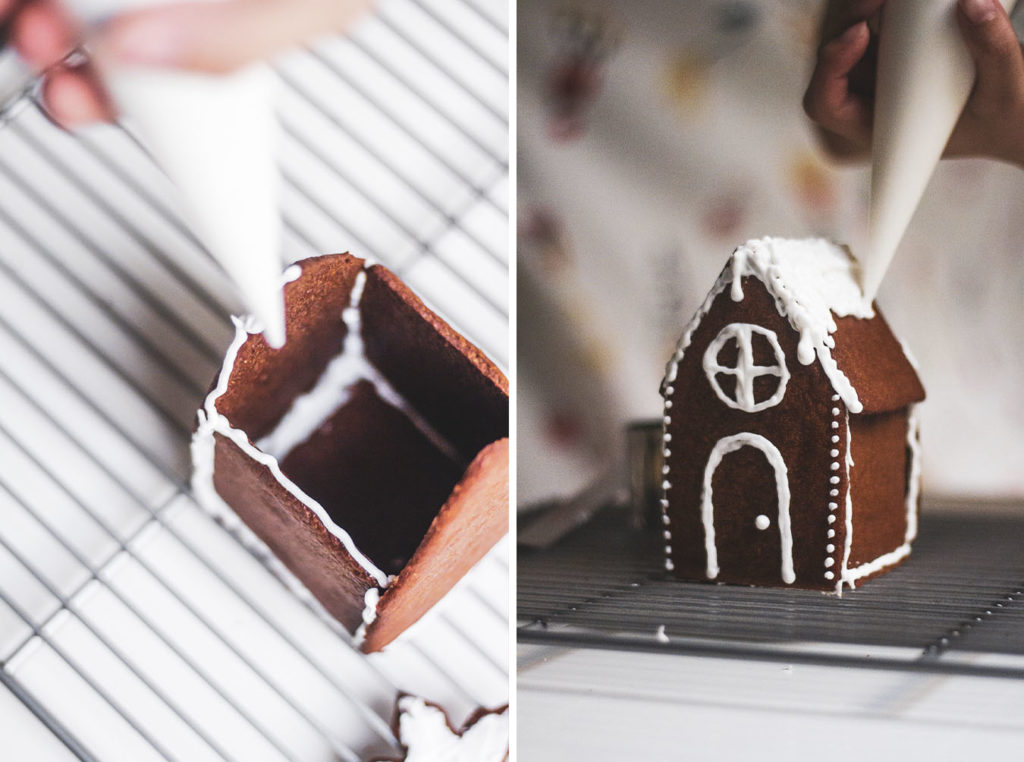
Keep your fingers clean and free of icing at all times otherwise, your house will have unsightly smears all over it. The edges of both sides of the pieces of gingerbread should have a strip of icing. That way the icing touches the icing instead of the bare gingerbread. This creates a stronger seal.
- Place a strip of icing on the edge of the gable that you will be
setting down first. - Set the gingerbread house gable side in the bead of royal icing.
- Place a long gingerbread house side in the other bead of royal icing. While holding the pieces with one hand, run a bead of royal icing up the seam, making sure all gaps are covered. Hold for a few seconds and release. If you have trouble with slippage, you can prop the walls up with whatever is handy.
- If the project you’re working on isn’t an intricate pattern, dependent on exactly matching pieces, don’t worry if there are gaps between pieces. Just fill them with royal icing. The decorations will cover a multitude of sins.
- Wait until th two sides are completely dry before moving onto the next walls!
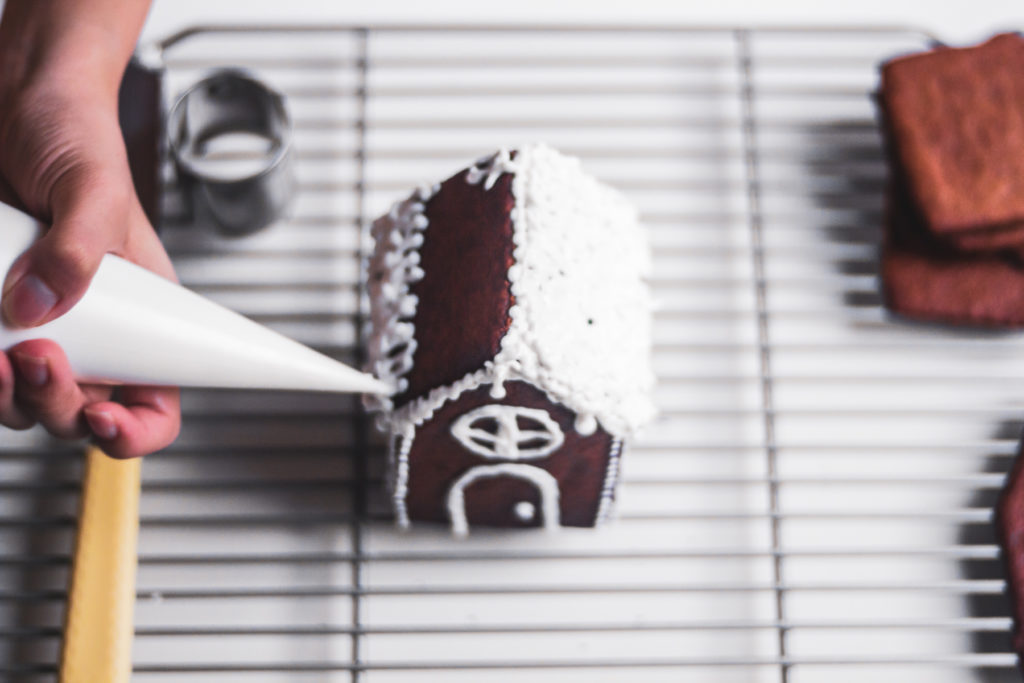
Step 4: Decorating the Gingerbread House
We
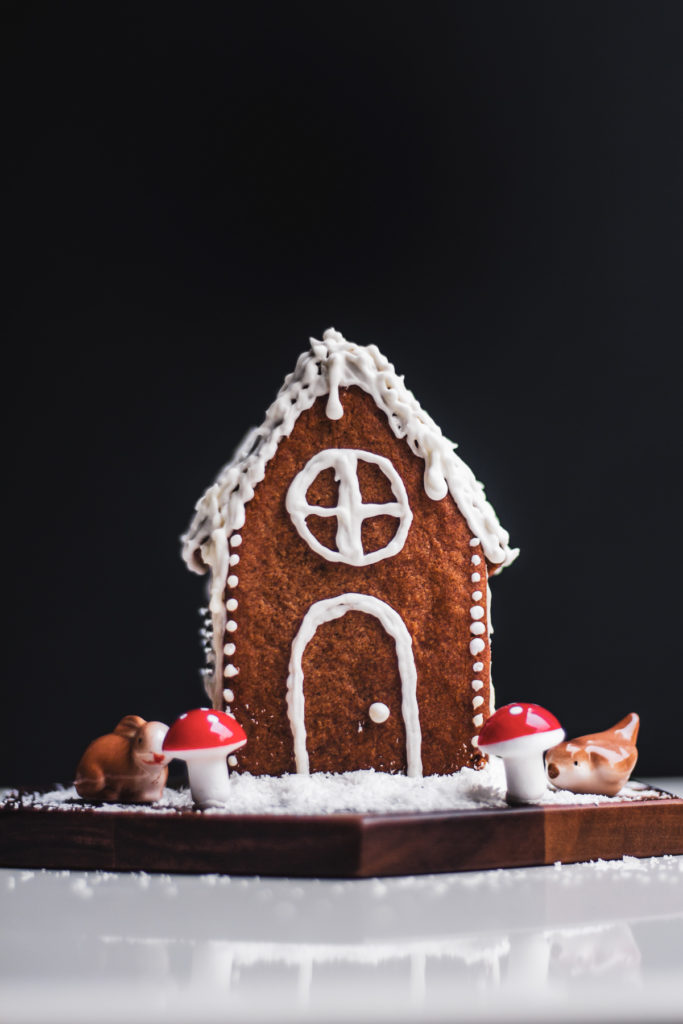
Take a photo of your version, send us an email, tag us on Instagram, tweet us, anything. We love to see you trying out our recipe!
xoxo, Joe


No Comments