
We love to eat pizza like the Italians. Yet we never ever make a pizza before and how could that be happening? I always thought we at least need to cook and prepare what we eat! One day, I told Joe that I want to challenge to make a Pizza!
I was never a baker for sweets unlike Joe but I thought that I should at least have a try at making a Pizza (it could be a start for baking). We research for recipes and we’ve decided to learn to make the basic pizza dough from Jamie Olivia recipe. It wasn’t as easy like what the recipe stated. As the amount of the flour doesn’t work in the direction given.
Since the recipe didn’t work accordingly, we try to add in more flour generally. We modified a little based on our own touch and gladly it out to be not that bad. That Sunday afternoon was experimental and fun. It took us almost a full day for mixing, kneeling, waiting for it to sit down. Finally, send to the oven baking, before it turns into crispy dough we made.
It is essential that your pizza dough is very thin when it goes into the oven. The edges can be slightly thicker, but you should be able to see some light through the dough (in the center), otherwise you won’t be able to achieve a thin, yet crisp pizza crust. To make the pizza dough you will need;
Ingredients |
- 300 g of plain flour
- 1 teaspoon of yeast powder
- 1 teaspoon of salt
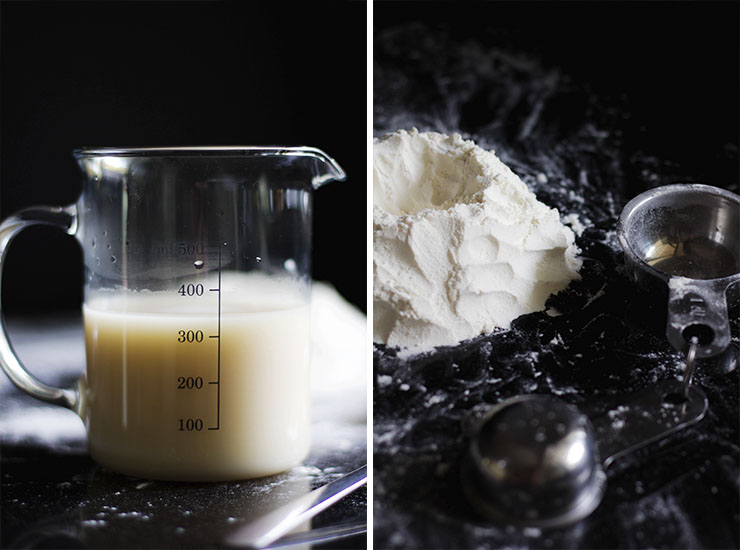
- 200 ml of warm water
- 1 & 1/2 tablespoons of oil (I use light olive oil)
Method |
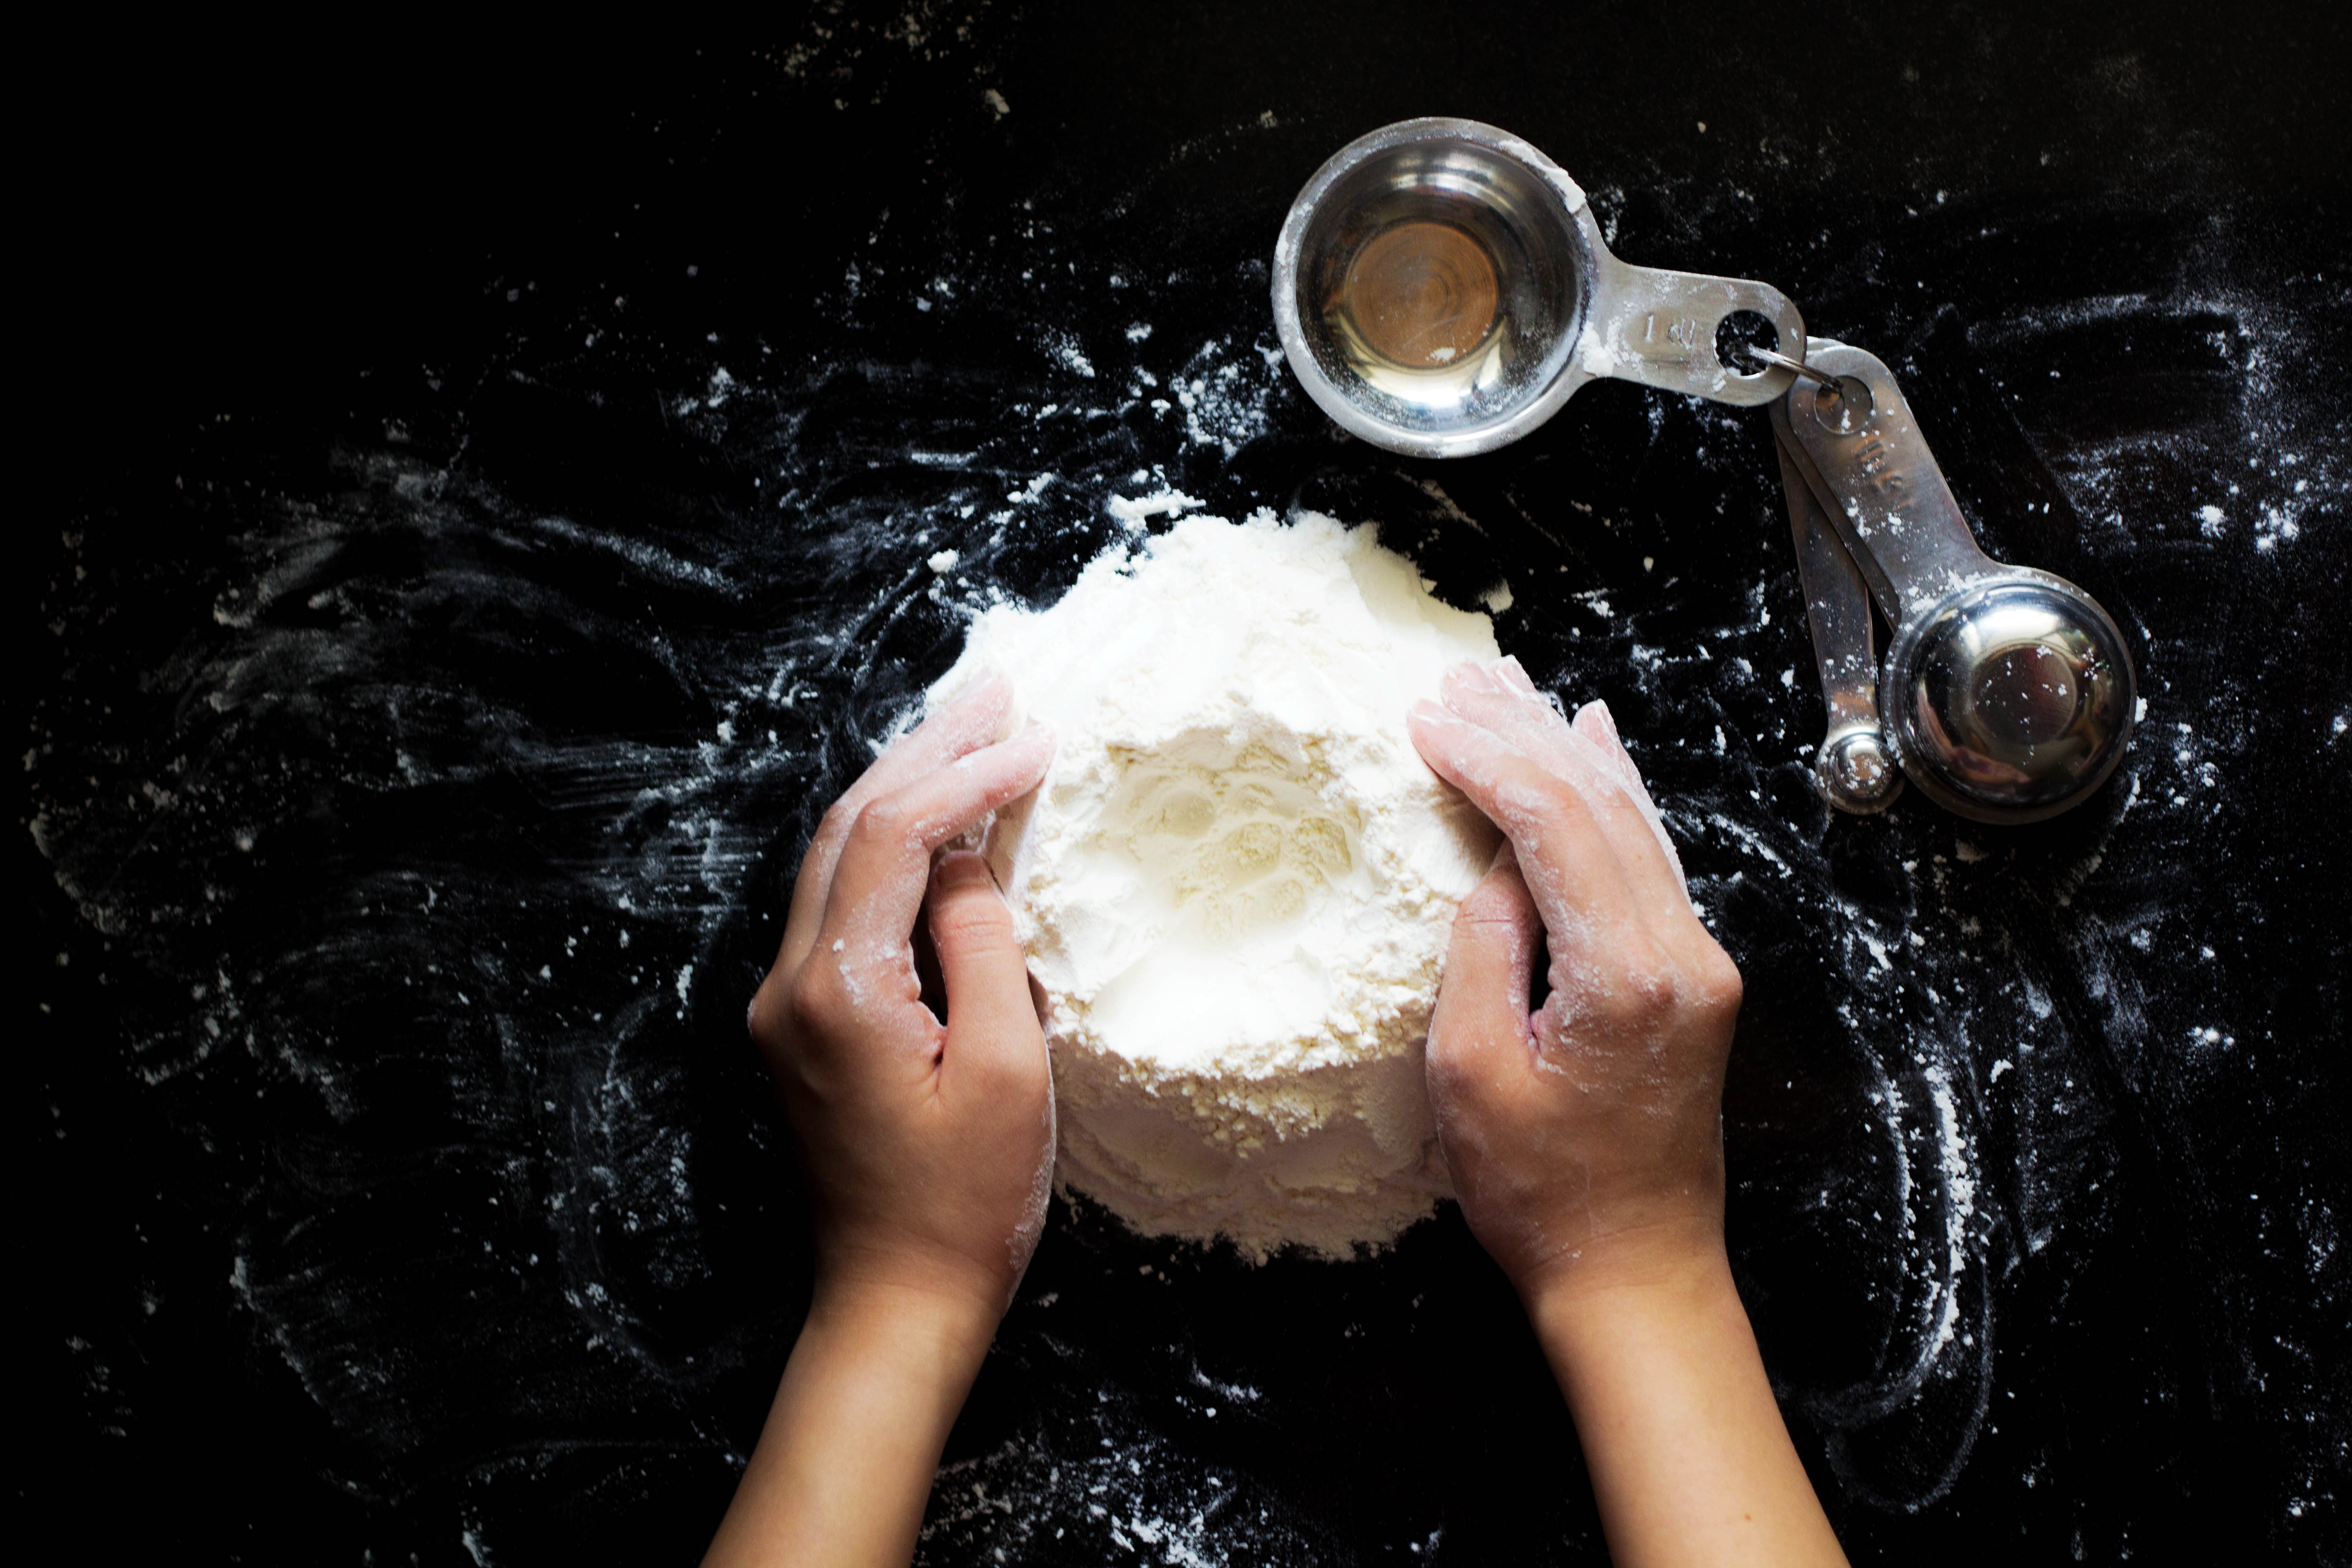
For the dough, pile the flours and 1 level teaspoon of sea salt onto a clean surface and make a well in the center.
Add the yeast and sugar to 200 ml warm water, mix together and leave for a few minutes, then pour into the well. Using a fork and a circular movement, slowly bring in the flour from the inner edge of the well and mix into the water. Continue to mix, bringing in all the flour – when the dough comes together and becomes too hard to mix with your fork, flour your hands and begin to pat it into a ball.
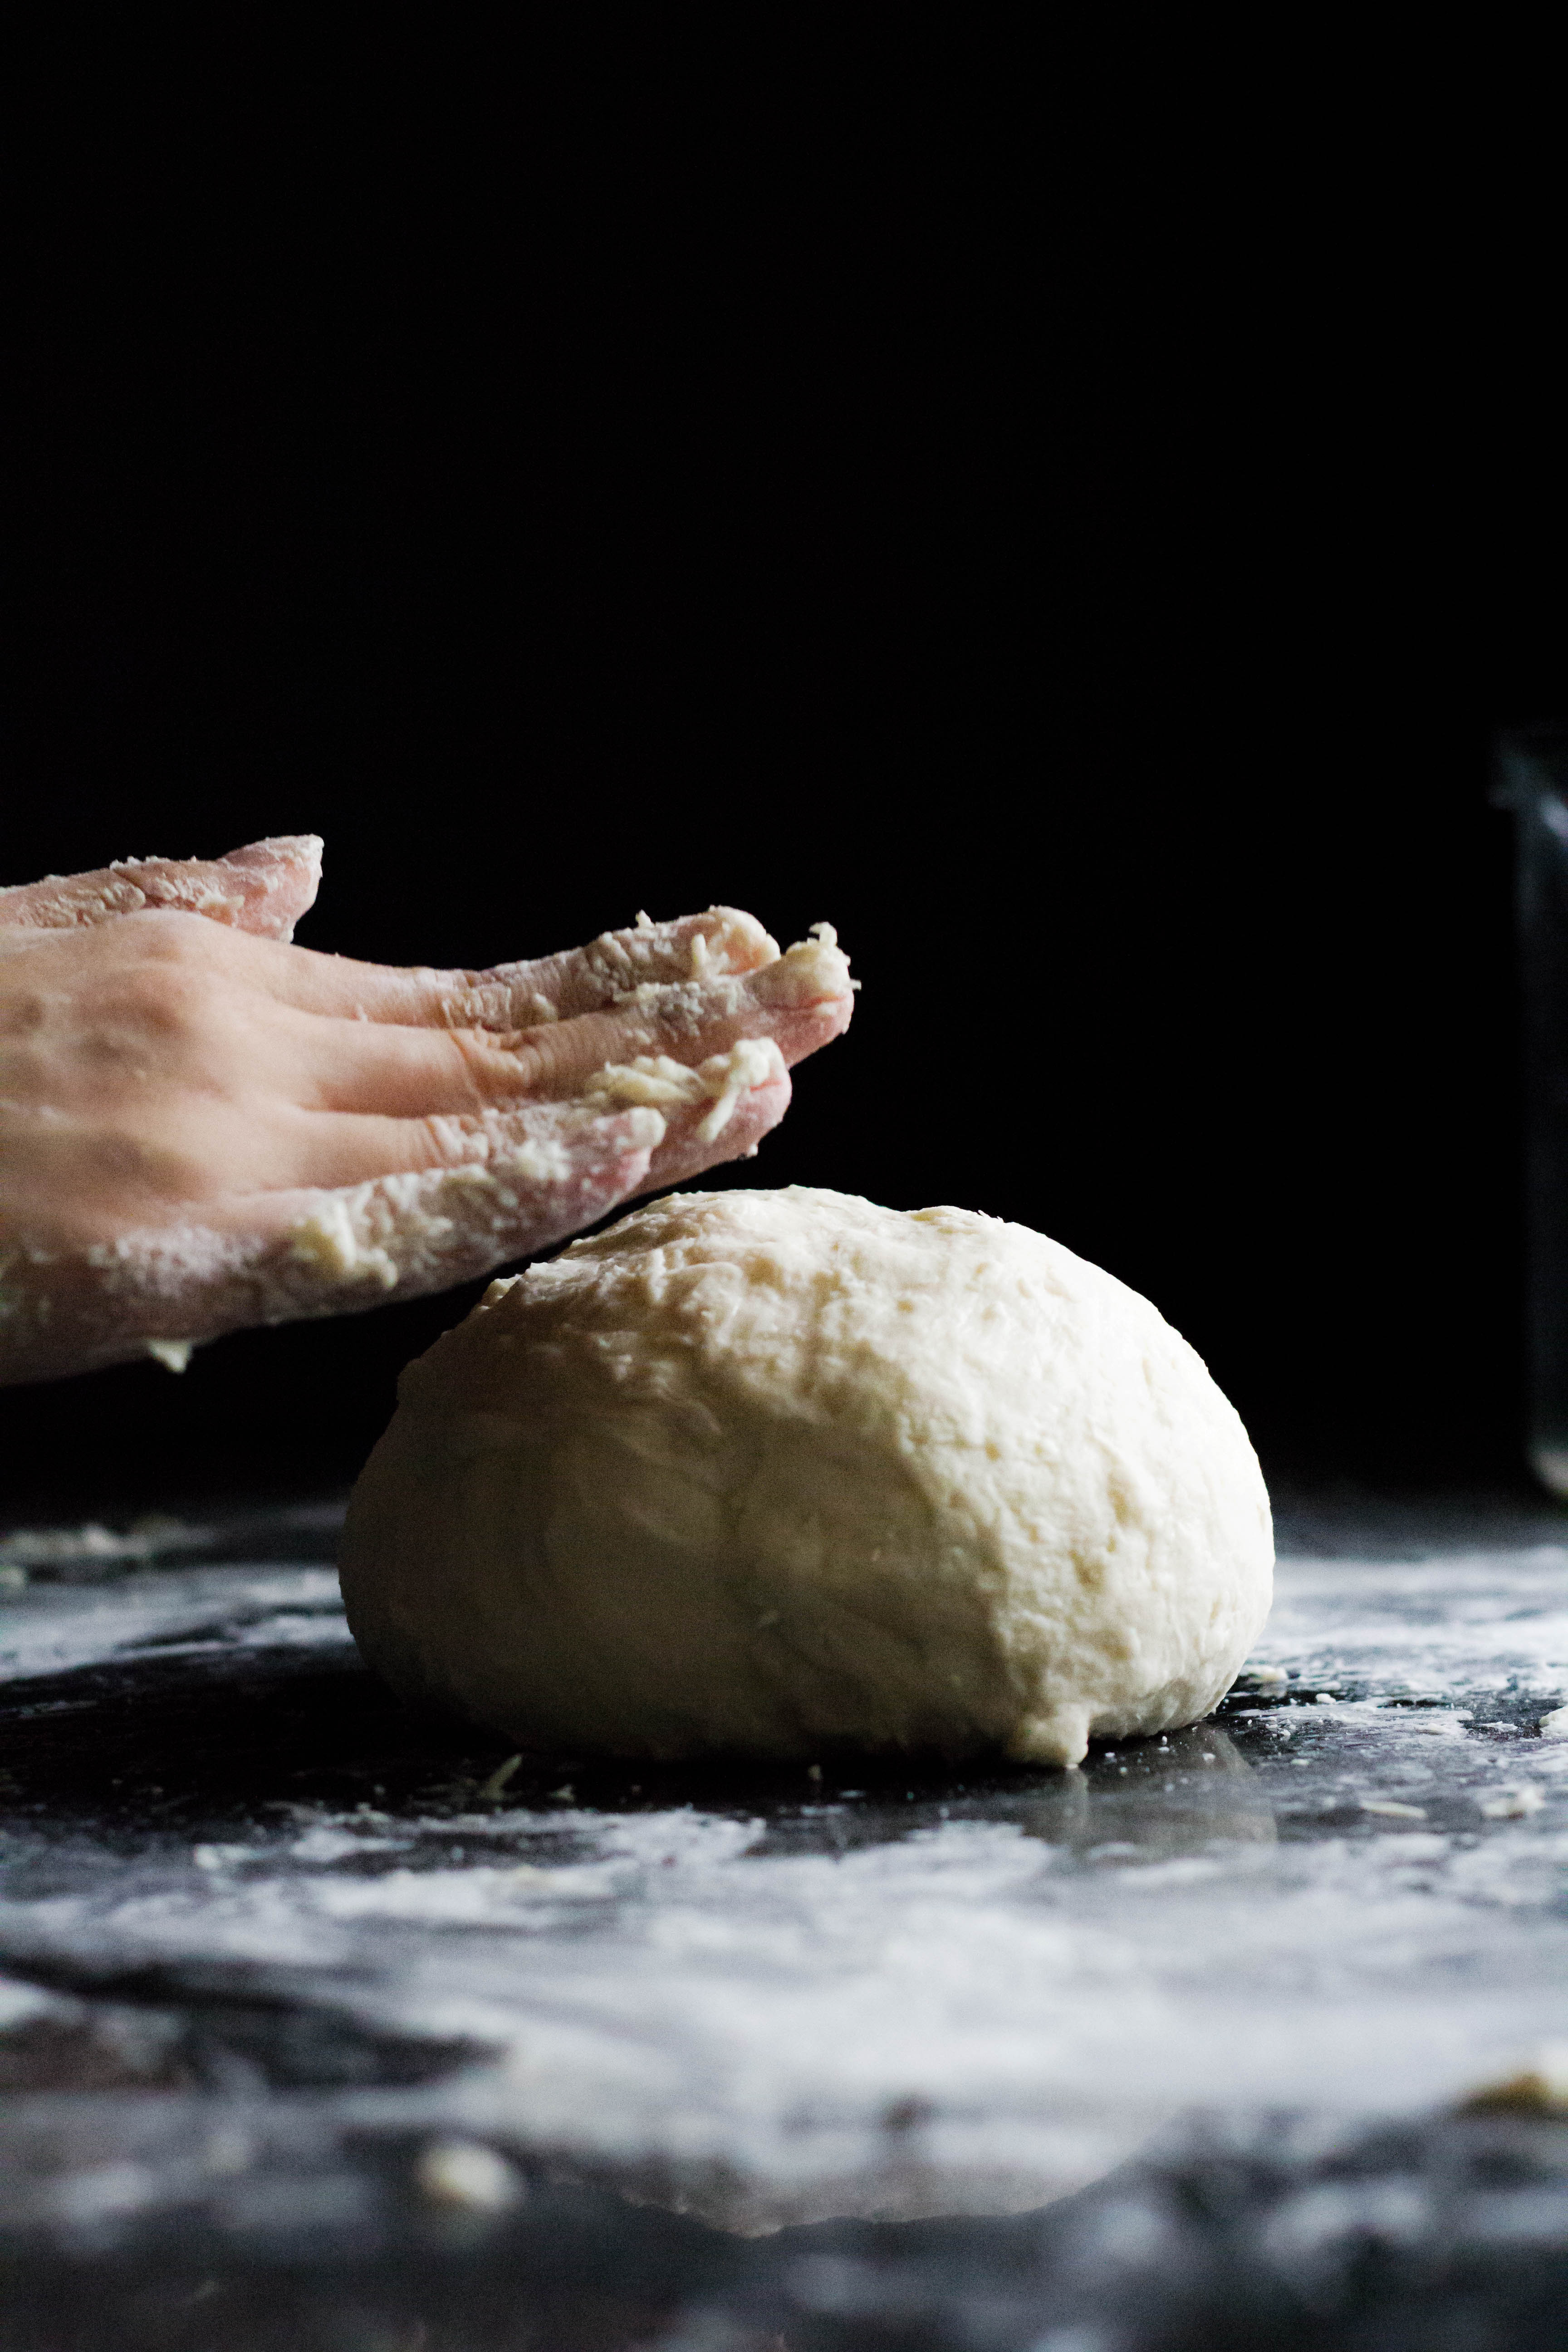
Knead the dough by rolling it backwards and forwards, using your hands to stretch, pull and push the dough. Keep kneading for 10 minutes, or until you have a smooth, springy, soft dough.
Place the dough in a lightly greased bowl, cover with clingfilm and leave in a warm place to to prove for 45 minutes, or until doubled in size.
If you want to save time (and be able to make this pizza on a weeknight, which is totally do-able!), this pizza dough can be prepared and frozen ahead of time.
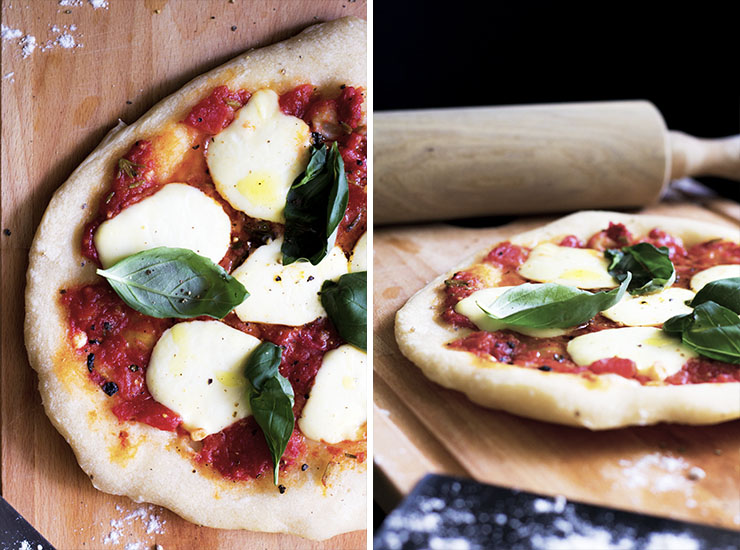
We decided to make Margherita – the most classic pizza but to hard achieve the favor.
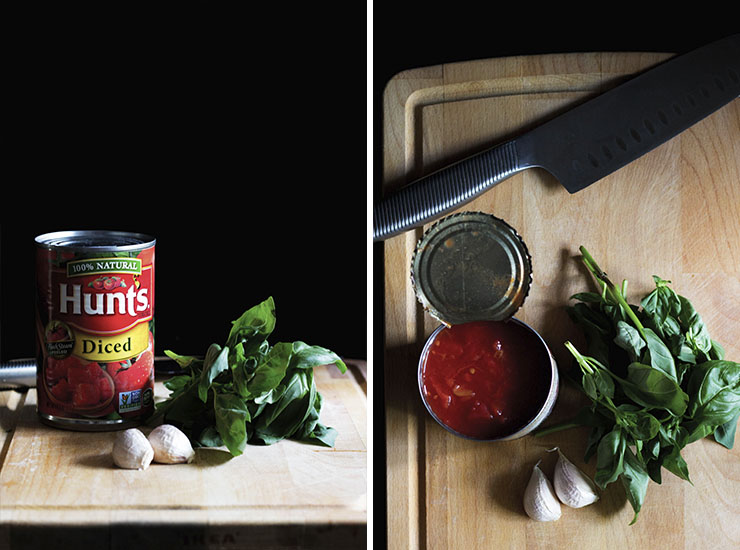
I have learned along the way that raw tomato sauces are the way to go. They are also extremely easy! Pureed Hunts canned tomatoes, garlic (minced in my garlic press), a touch of olive oil, salt, and pepper. Whatever you do, avoid putting a thick layer of sauce on the pizza as it will result in a less crisp crust. It should be very thin.
For the best Margherita pizza, you will want to preheat your oven to the highest temperature possible. For my oven, that is 220 C. I allow my baking stone to preheat for at least 30 minutes (regardless of whether my oven is ready as it takes time for your baking stone to come to temperature). The higher the temperature the better. This recipe makes two 10-inch pizzas, and they should be able to properly cook in 7 to 8 minutes at that temperature.
Everything seems worthy when people saying it’s delicious. Joe was surprised with our first try and succeed. Our parent finished pizza right away a from the oven. We did make some mistake for our first try by baking the basil leaves. That should be the last thing you put on it!

Ingredients |
- carton of tomato
- garlic cloves
- tablespoons of tomato puree
- mozzarella cheese
- Pinch of chilli flakes
- Pinch of black pepper
- Fresh basil leaves
- Drizzle of olive oil
“This is delicious”! the happiest words from people who ate your food. We hope that you like and as usual take a photo of your version, send us an email, tag us on Instagram, tweet us or, anything. It’s a thrill for us to see you trying out our recipe!
xoxo, Angela.


3 Comments
moh @real recipe
03/10/2017 at 3:40 pmI love this recipe. Easy with fast prep!!! Perfect!
leplaincanvas
06/10/2017 at 1:33 amThanks! We are great that you enjoy it!
leplaincanvas
05/03/2018 at 11:21 pmWe are happy you love it! Thank you!